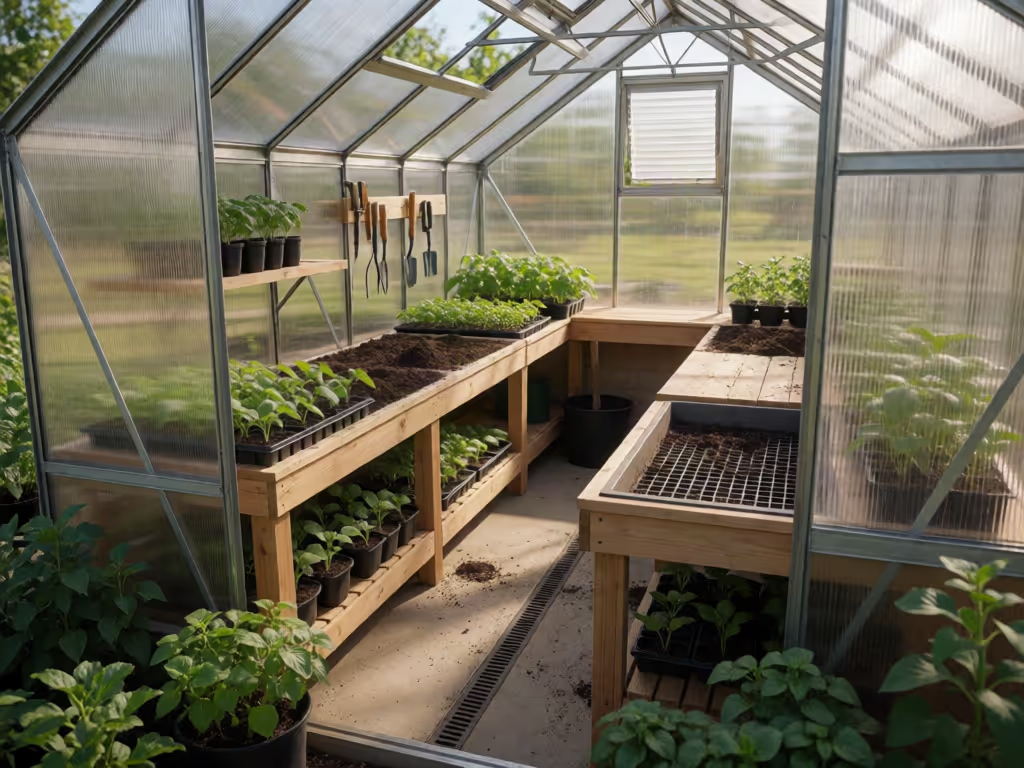
DIY Greenhouse Garden Work Surfaces That Stay Tidy
By Hana Al-Khalil • 3rd Oct
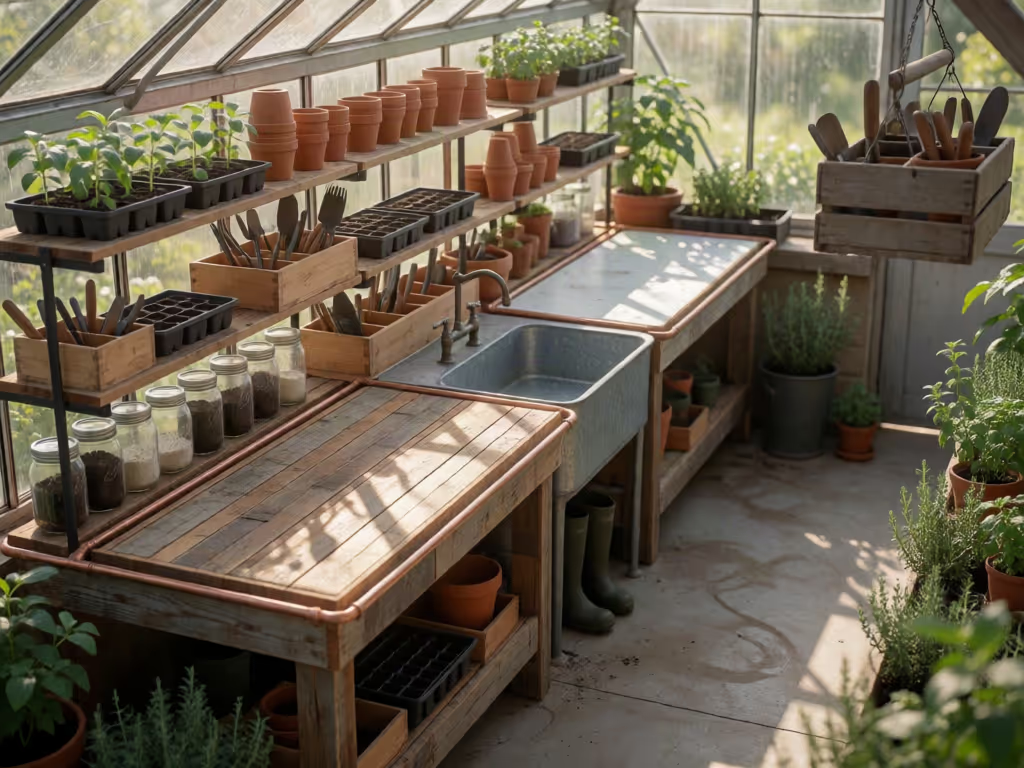
What to do
Build a tidy greenhouse workflow by separating soil-heavy potting from clean seedling work, then choose reachable, draining surfaces and storage that keep paths clear.
- Start with: Map the route from the entrance through potting, growing, and cleanup.
- Then: Use a tested bench height around 3 to 3½ feet, limit raised production surfaces to about 5 feet wide when reachable from both sides or 2½ feet from one side, and choose open or otherwise drainable surfaces.
- Important prerequisite: Size the frame and surface for plants, containers, wet soil, and stored items; no universal DIY load rating is provided. Remove soil and debris, hang hoses, and sanitize benches, floors, pots, and tools between cropping cycles.
Important: The aisle dimensions shown in educational layouts are examples, not universal accessibility or safety requirements. Adjust paths for household users, carts, mobility needs, and clear egress.
A successful DIY greenhouse build is not only about the frame and glazing; the interior determines whether your greenhouse garden feels like a place you want to return to on a rainy Tuesday or a hot Saturday. When pots, soil, hand tools, and hoses collect wherever they land, small tasks become tiring and disease-control chores get skipped. A tidy work surface gives every messy job a boundary, every clean job a protected place, and you a clear path to the door.
Comfort grows plants, and keeps you tending through storms.
This tutorial builds a simple, cleanable workflow rather than a complicated furniture project. Think of the interior as three moments in a line: enter clean, work wet, grow orderly.
Step 1: Map the work before building a bench
Stand at the greenhouse entrance and picture the route of a normal planting day. You come in with greenhouse supplies, pots, tools, and perhaps a bag of growing medium. You pot up, water, move plants to their growing position, then leave with empty packaging and debris.
Sketch this route on paper before cutting material: For a broader approach to greenhouse work zone layout, map each task from potting and transplanting through cleaning and harvest handling before fixing the bench positions.
- Door and open path: Keep an unobstructed route from the door to the far end of the greenhouse. Do not let a potting table, stacked trays, or stored bags narrow your safe exit.
- Dirty-work end: Put the soil-handling surface near the entrance if possible. Soil, old roots, and wet containers stay close to the point where they arrive and depart.
- Clean-work end: Reserve a separate portion of bench or a separate small table for seed trays, labeled pots, and freshly cleaned tools.
- Growing zone: Place production benches beyond the potting zone so you are not repeatedly carrying soil across young plants.
This clean-versus-soil-work split is a practical habit, not a rigid rule. The point is to reduce needless transfer: plant pathogens can travel on soil, water droplets, shoes, tools, and even air currents. When the work sequence is obvious, tidiness stops relying on willpower.
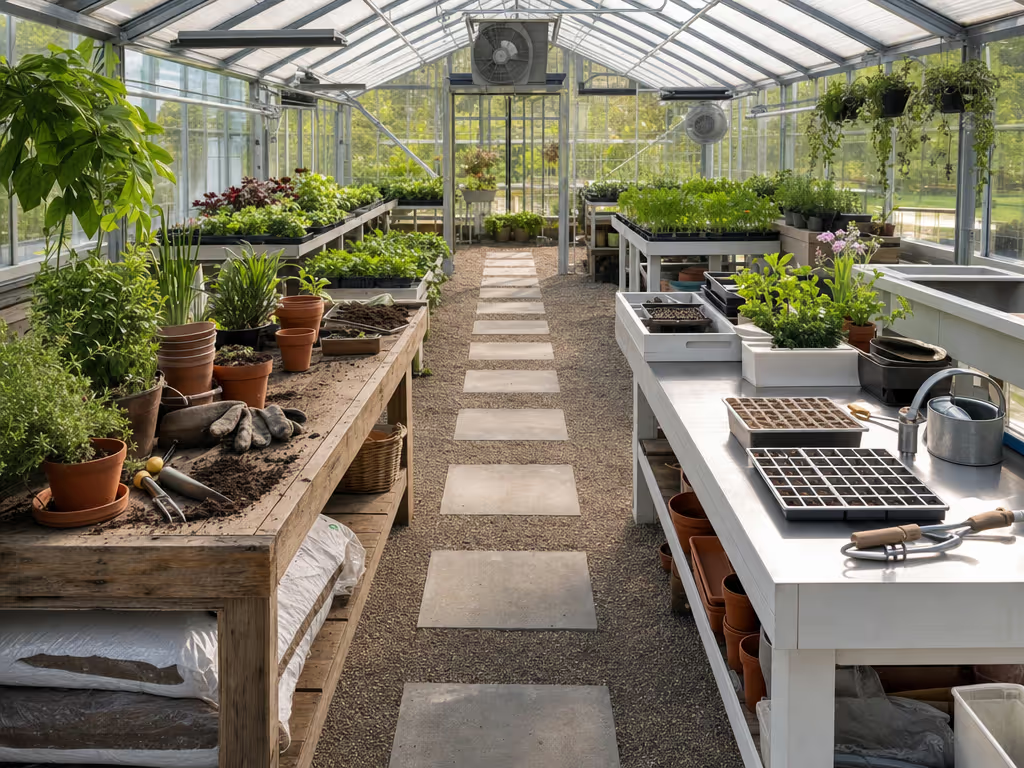
Choose a footprint you can reach
For a raised production bench that can be reached from both sides, a maximum width of 5 feet is a useful planning limit. If the bench sits against a wall and is reachable from one side only, keep it to 2½ feet or less. These dimensions are about being able to reach plants without leaning across a jungle of pots (not about cramming in the maximum number of containers).
Educational greenhouse layouts sometimes depict a 3-foot aisle or much narrower passageways, but those examples are not universal accessibility or safety standards. Size your paths for the people, carts, watering containers, and mobility needs in your household, while preserving easy egress at all times.
Step 2: Set a greenhouse bench height that invites daily use
A common range for a raised greenhouse production surface is 3 to 3½ feet high. Use that as a starting point, then test it before committing. Set a board across sturdy supports at the proposed height. Place a filled pot on it. Can you transplant without hunching your shoulders? Can you lift a tray down without twisting? Can the shortest regular user work there comfortably?
The best greenhouse bench height is the one that makes repeated tasks feel calm rather than punishing. If you do fine seeding, a slightly different, more comfortable temporary surface may help.
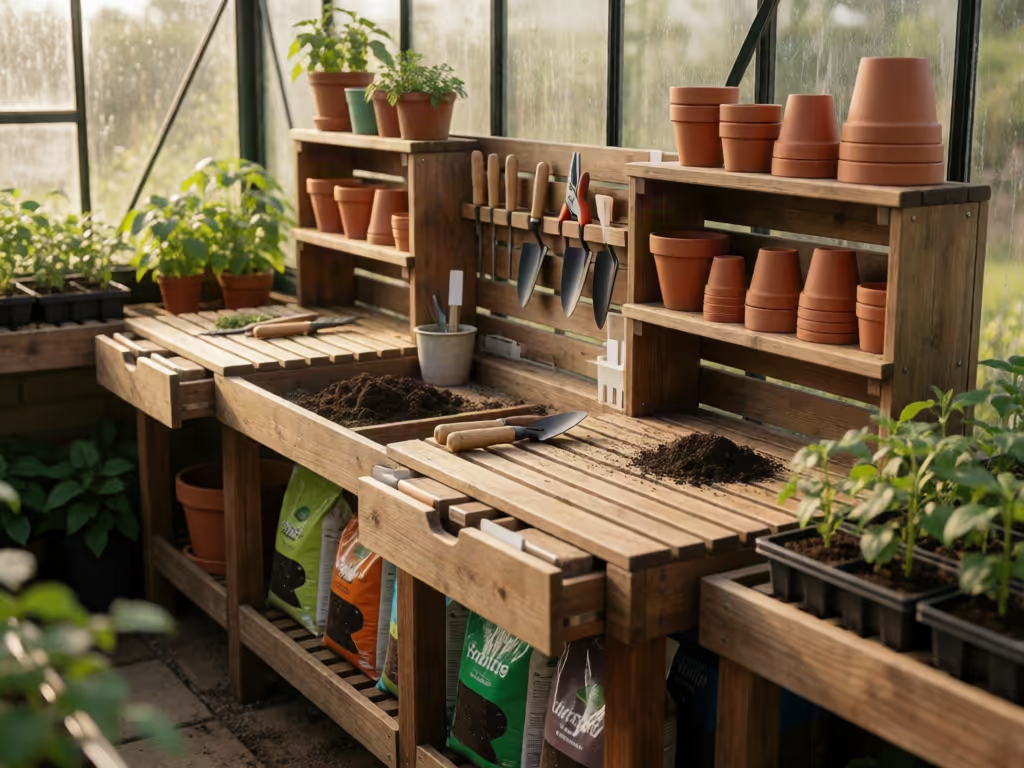
A useful potting bench arrangement is:
- One main raised growing bench at your tested working height.
- One smaller potting surface where loose soil is allowed.
- One dry landing spot for labels, notebook, phone, and clean tools.
That last surface can be modest. Its value is enormous when your hands are muddy and you need somewhere safe to set down a packet of seeds.
Step 3: Build the work surface around water, not around appearances
In a greenhouse, a pretty solid tabletop can become a shallow pond. Water collecting on a bench can lead to uneven drying in containers and can raise disease risk, particularly when the surface is not level.
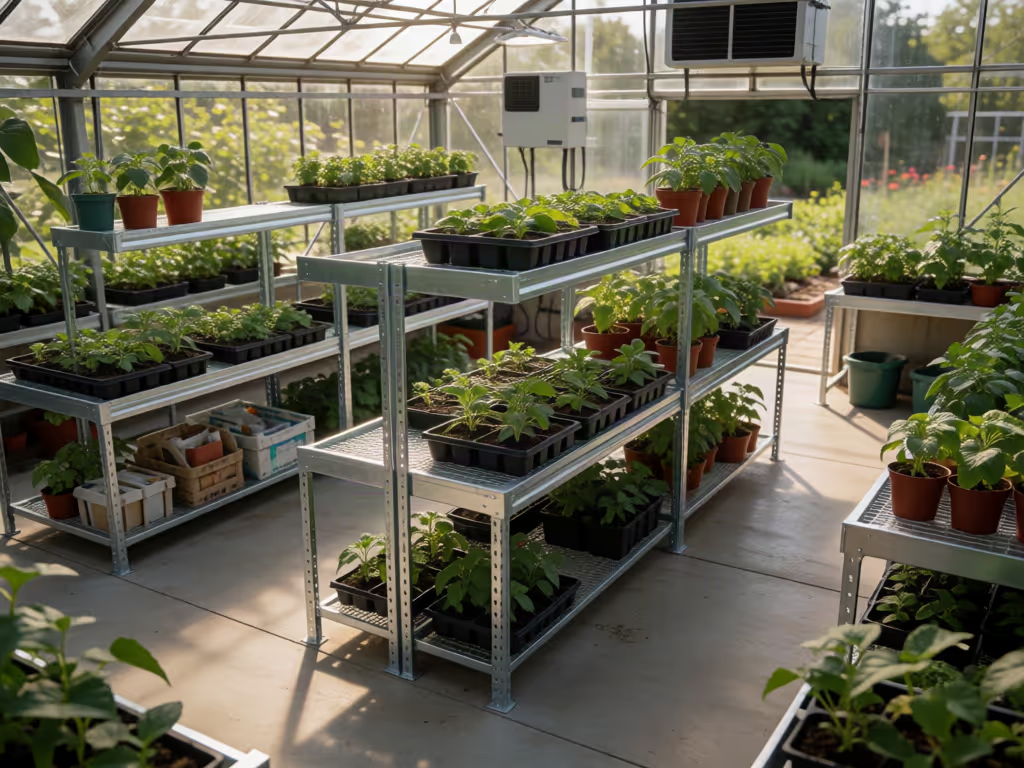
For plant-production benches, favor an open surface that allows water to drain and air to move around containers. Expanded metal is one option described as strong, rigid, relatively low-maintenance, and long-lived, with little support required beneath it. Other common bench-material options include aluminum, plastic, and rot-resistant wood.
Material choice should begin with your cleaning routine:
- Hardened plastic resists water and chemicals and can carry heavy loads, though it may cost more.
- Wood needs treatment to resist decay and can be harder to clean thoroughly.
- Open metal surfaces provide drainage and airflow, but still need a supporting frame suited to their use.
Do not copy a greenhouse shelving and staging plan from a photo and assume it will carry your load. A raised bench must support the plants, containers, and wet soil it will hold; both the top and the structure below it matter. Size the supports for your actual pots and stored materials, and seek local construction guidance when your design is substantial or uncertain.
For floor-level staging, drainage matters just as much. Small gravel permits drainage. A concrete floor can be grooved or given a slight grade so water moves off the surface. Whichever floor you have, sweep spilled mix promptly rather than allowing it to become a permanent damp border under the bench.
Step 4: Give every greenhouse supply a parking place
Tidiness survives only when putting something away takes less effort than dropping it. Add storage that serves the work sequence, not a catch-all cabinet that becomes a mystery box.
Store by cleanliness and frequency
Use three categories:
- Clean and light: labels, seed packets, plant ties, pruners after cleaning, and notebooks belong on a dry shelf or lidded bin above the splash zone.
- Wet and active: watering cans, empty trays, and recently washed pots need an open, drainable place.
- Bulky and dirty: bags of mix, used pots awaiting cleaning, and harvest tubs should stay low and close to the potting area.
Avoid turning the greenhouse itself into overflow storage. Every bag under a bench steals sweepable floor and creates a place for debris to linger.
Hang hoses and frequently used tools rather than dragging them across the floor. Floor contact can pick up infested soil and debris, then carry it onto a clean bench or among plants. A hook at the potting end, placed where the hose coils without blocking the route out, is a small upgrade with a large payoff.
Step 5: Create a five-minute closing routine
A tidy greenhouse work surface is maintained in minutes, not rescued once each season. At the end of each visit:
- Return clean tools to their dry home.
- Put empty pots in either the "clean" stack or the "to wash" stack, never both.
- Sweep soil and plant debris from benches and floor.
- Hang the hose so it does not rest on the ground.
- Leave the center path open before you close the door.
This routine protects plant health as well as visual calm, complementing a broader approach to organic greenhouse soil management. Soil-borne pathogens can remain dormant in soil for months or years, so excess soil and plant debris deserve attention rather than becoming part of the greenhouse floor.
Between cropping cycles, reset more deeply: remove plant material, clean benches, floors, pots, and tools, then sanitize as appropriate for the product directions. Use a seasonal greenhouse maintenance checklist to coordinate these deeper resets with preventative care throughout the year. If using bleach or peroxide disinfectants on tools, recognize that they are corrosive; rinse tools after 5 to 10 minutes of exposure and follow all label safety instructions.
Step 6: Audit the layout with a real gardening day
Before calling the interior finished, use it. Pot up several plants, carry a watering container through the aisle, retrieve a tool, and sweep the floor. Notice where your elbow catches, where water pools, and where you instinctively set things down.
My own turning point with an inherited hoop house was not a fancy fixture. After the sun work was handled, I learned that the space became genuinely usable only when the working edge stayed clear and the daily tools had homes. Even an older neighbor could come in at midday and prune comfortably. That is the standard worth designing toward.
Cool the human, save the crop. A draining surface helps water leave the bench, a raised bench whose surface and underlying supports are sized for the load can carry its plants, containers, and wet soil, and keeping soil away from clean work helps limit contamination transfer.
Keep refining the surface, not just adding storage
Start with one bench, one potting zone, one clean landing area, and a clear route out. Live with that arrangement for a few weeks before adding shelves or containers. The most useful next improvement will reveal itself: perhaps a hook where the hose keeps falling or a bin that stops loose pots from migrating.
Explore your greenhouse garden as a working room. Each small adjustment that simplifies cleanup can help keep the space orderly.
Related Articles