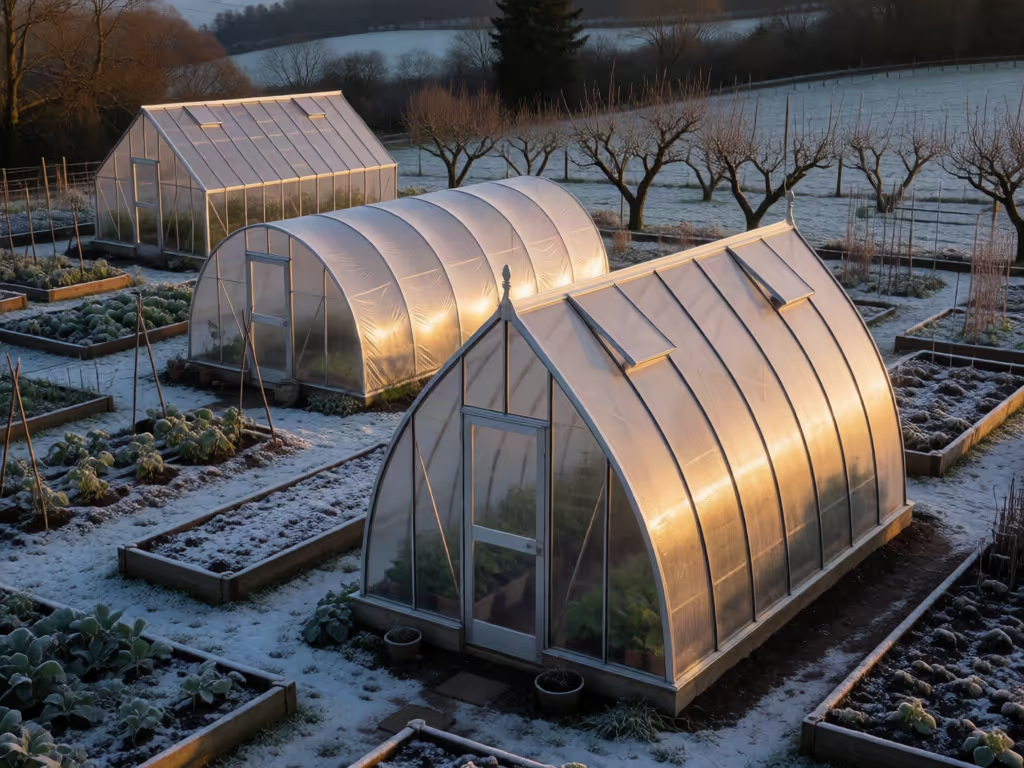
Greenhouse Work Zone Layout and Covering FAQs
By Maya Okonkwo • 25th Sep
What to do
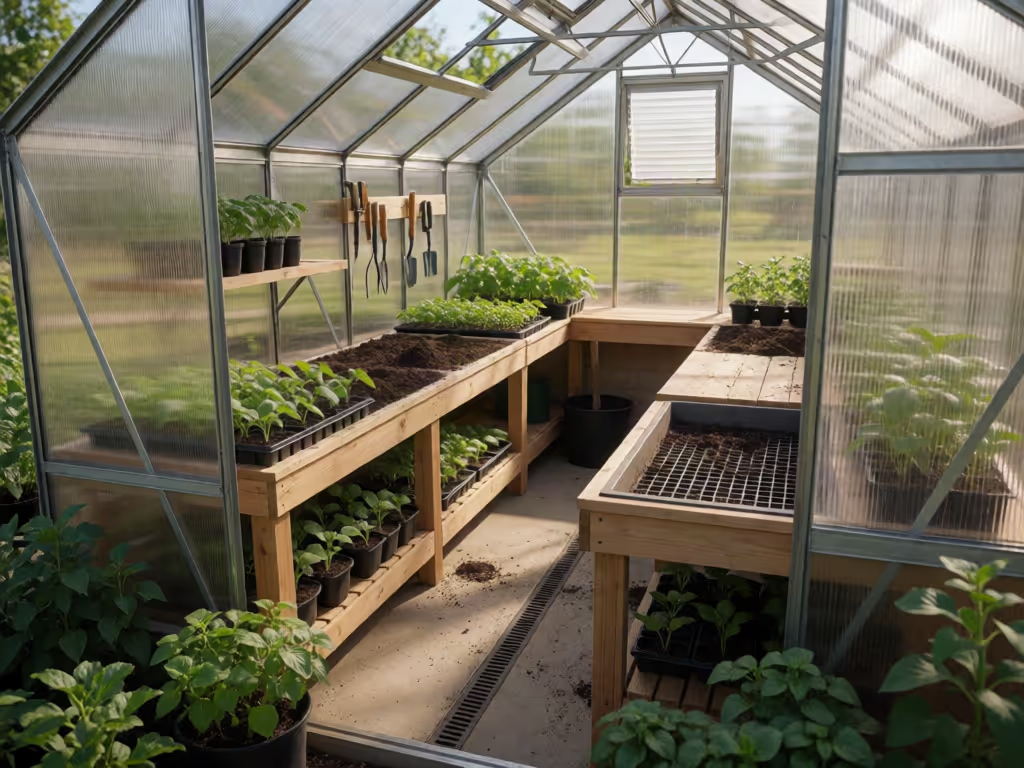
Design the greenhouse around task separation, drainage, sanitation, and airflow. Keep seedling work clean, place soil mixing on a durable cleanable surface, and consider covering light transmission and heat retention.
- Start with: Separate clean seedling, soil-mixing, and harvest-ready areas. Remove soil and plant debris promptly, and sanitize benches, trays, pots, and tools before planting.
- Then: Choose benches and floors around access, drainage, cleaning, and airflow. Standard concrete suits heavy loads but may drain poorly in growing aisles; gravel and dirt cannot be properly disinfected.
- Important prerequisite: Treat covering data and orientation advice as context-specific. Available evidence shows tradeoffs among light and heat retention, but does not establish one best material, universal aisle width, or general permit threshold.
A greenhouse work zone is where good intentions either turn into a repeatable routine or into spilled potting mix, wet walkways, and contaminated seedlings. Likewise, covering decisions are not cosmetic; they involve a tradeoff between usable light and retained heat. The practical answer is to separate clean work from dirty work, give water somewhere to go, and recognize that no universal “best” covering is established.
Numbers first, claims second.
What should a greenhouse work zone include?
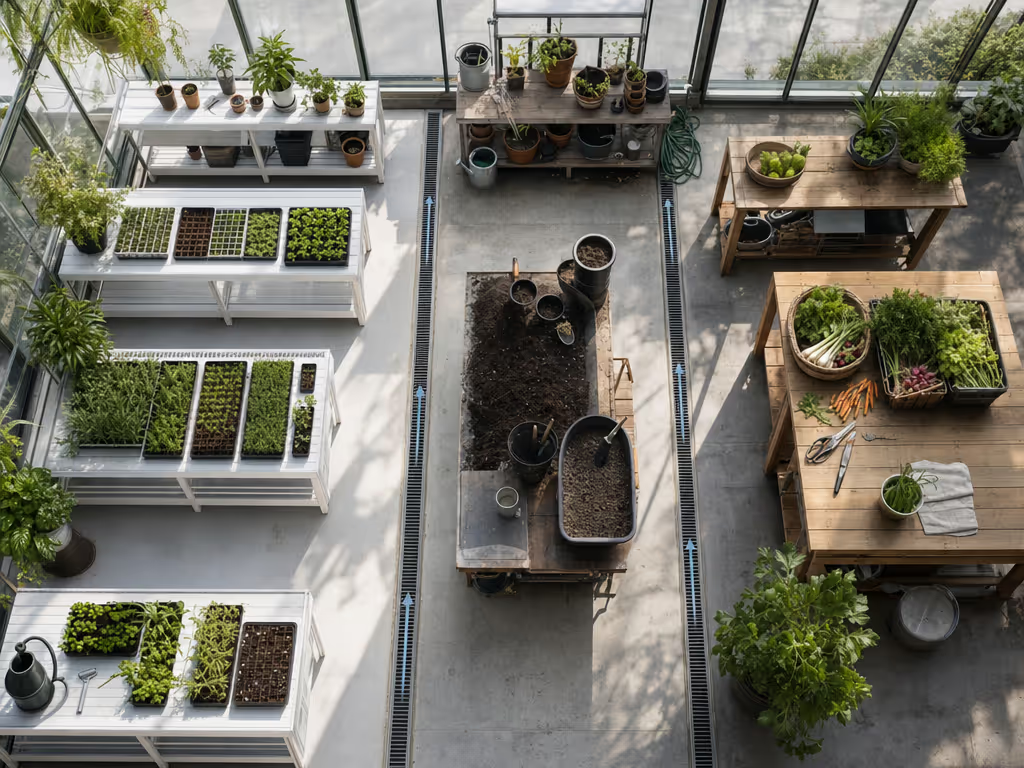
Start with three task areas: a clean seedling area, a soil-mixing area, and a harvest-ready area. This is a planning framework, not a mandated workflow map, but it directly addresses the ways disease, puddling, and clutter undermine small greenhouses.
- Clean seedling area: Reserve bench space for seedlings, trays, pots, and planting tools that have been sanitized before planting. Keep soil residue and field-worn footwear out of this area where possible. Purdue guidance identifies footwear and clothing as potential pathways for pathogens into a greenhouse.
- Soil-mixing area: Put heavy, messy work where the surface tolerates it and can be cleaned. Standard concrete is appropriate for heavy-load uses such as soil mixing.
- Harvest-ready area: Treat this as a clean handoff point rather than a soil-storage spot. Clean harvest tools immediately before and after harvesting, and use a cleaning schedule for harvest containers.
The goal is not to build a complicated production facility. It is to prevent the same tray, bench, or aisle from carrying potting mix, plant debris, seedlings, and harvest containers in rapid succession. Simpler flow, fewer problems.
What belongs in a clean-entry routine?
Before a planting cycle, sanitize the benches, trays, pots, and tools that will contact seedlings. First remove soil, debris, and organic residue; disinfectants work better on surfaces that are already clean.
After a crop cycle, remove plant debris, potting mix, soil, and organic residues promptly. Waiting makes cleanup harder and can reduce the effectiveness of later disinfection. For a home greenhouse, the operational test is simple: can you clean the surfaces thoroughly, or are you repeatedly working around embedded soil and standing water?
How should I plan a greenhouse workbench layout?
Choose potting bench geometry around access, task frequency, and the types of plants you need to keep separate. There is no evidence-based universal aisle width or layout template for every hobby greenhouse, so avoid treating a single online dimension as a code rule. Let your movements set the numbers.
OSU Extension describes two useful patterns:
| Layout choice | What it can do | Limitation to weigh |
|---|---|---|
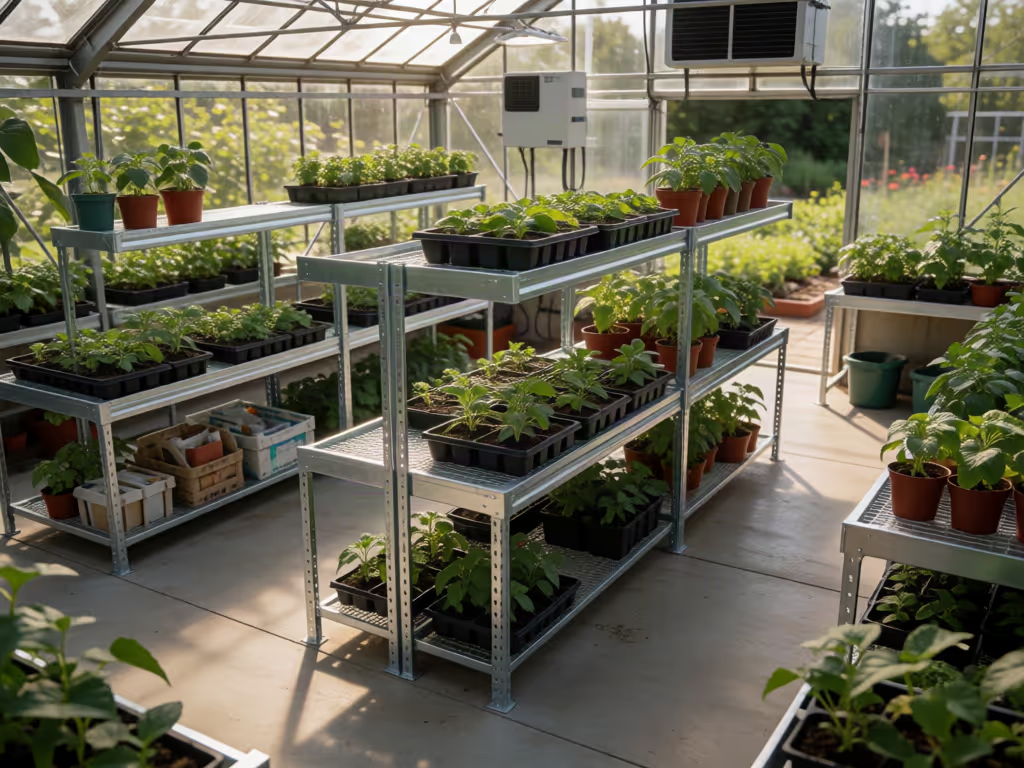
| Longitudinal benches | Can make routine work, including watering, easier | May provide less growing area than a peninsular arrangement |
| Peninsular benches | Can create more growing area and make species segregation easier | Routine tasks may be less convenient for some growers |
For scale, OSU used 2.5-foot aisles in one illustrative 30-by-80-foot longitudinal-bench calculation. That is an example, not a universal minimum. Measure your actual movements: carrying a tray, turning toward a bench, opening a door, and moving a cart if you use one.
Bench access also sets useful limits. OSU describes benches against a wall as normally no more than 36 inches wide or 36 inches high. Freestanding benches, reachable from both sides, may be up to 6 feet wide; their height should not exceed 36 inches to accommodate wheelchair users. These are functional design guidelines, not a substitute for applicable local accessibility or building requirements.
Where should greenhouse supplies and pots go?
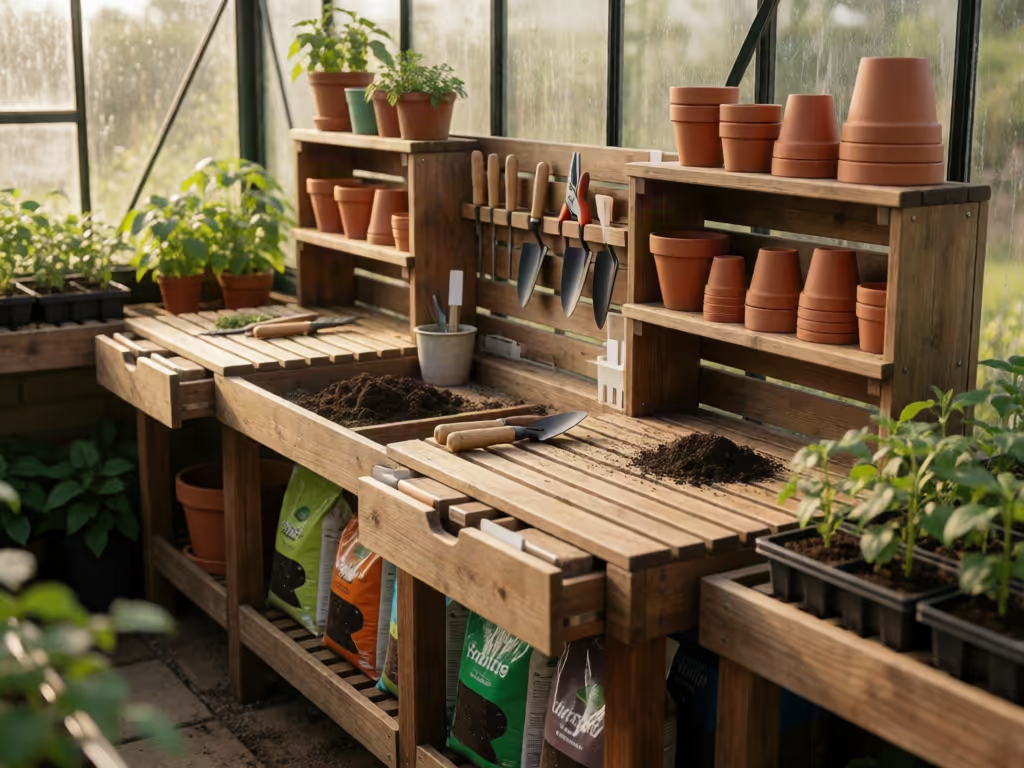
Keep greenhouse supplies, pots, trays, and tools assigned by cleanliness and task. For guidance on safe shelf loads, staging, and aisle clearances, see this greenhouse storage and staging guide. Clean pots and trays for seedlings should stay with the clean bench, not alongside soil-mixing residue. Containers waiting to be cleaned need their own temporary spot so they do not cycle back into the clean area by accident.
Which floor works best in each zone?
Use the floor as a sanitation and drainage decision, not as a finishing detail. The wrong surface forces you to choose between muddy aisles and water that has nowhere to drain.
- Soil-mixing zone: Standard concrete is suitable for heavy-load work.
- Growing-area aisles: Standard concrete may not drain properly and OSU advises avoiding it in these aisles when possible.
- Light-traffic drainage areas: Porous concrete can reduce puddling, provide drainage, and act as a weed-control barrier. Its lower strength limits it to lighter traffic.
- Propagation or seeding areas: Avoid porous concrete when soil particles are likely to clog its matrix and interfere with even drainage.
- Gravel or dirt: These surfaces cannot be properly cleaned and disinfected; they can harbor more pests and become muddy under frequent irrigation.
This is one of the highest-return layout choices because it affects cleaning, disease pressure, and daily access at once.
How do ventilation and layout work together?
Put benches and work surfaces where they do not make airflow an afterthought. Greenhouse ventilation systems remove excess heat and help control relative humidity and carbon dioxide within the plant canopy. In smaller greenhouses, one system may handle both ventilation and circulation; larger operations commonly separate exhaust and circulation systems.
That does not produce a universal bench-placement formula. It does mean you should test the layout against actual operation: Can air move through the plant canopy, and can you reach vents, fans, and damp surfaces for cleaning? Keep vents, fans, and damp surfaces accessible for operation and cleaning.
Covering Greenhouse FAQs
What is the best covering for a greenhouse?
There is no single best covering supported by the available evidence. The available evidence shows a tradeoff between light transmission and heat retention. A detailed polycarbonate covering comparison can help when you need to weigh those performance factors against polyethylene options.
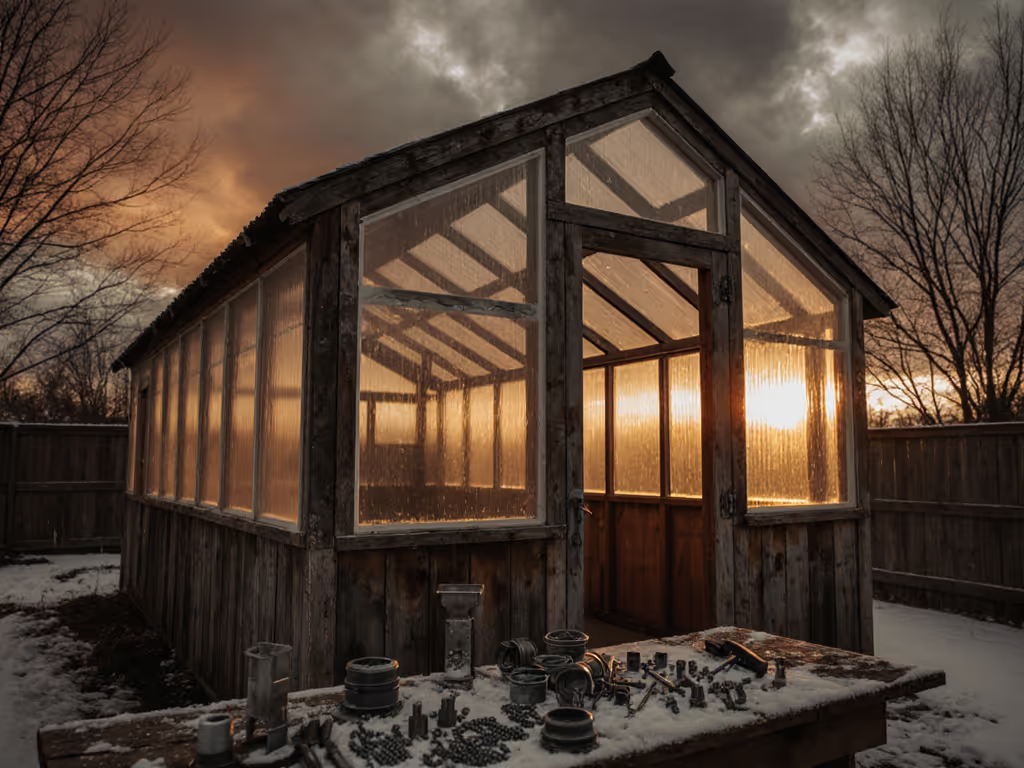
In UAF's Alaska greenhouse context, glass or rigid plastic can trap up to 96% of thermal radiation, while more than 50% can escape through single-layer polyethylene. Its glazing table lists these example light-transmittance ranges:
| Covering example | Light transmittance |
|---|---|
| Single glass | 85-95% |
| New single polyethylene | 80-90% |
| Double polyethylene | 60-80% |
| Double-wall rigid polycarbonate | 83% |
Those percentages are material examples, not a guarantee for every product or installation. They do show the central tradeoff: adding layers can improve heat retention while reducing transmitted light.
UAF also reports that inflated double-layer polyethylene is 40% more efficient at retaining heat than single-layer polyethylene in its Alaska use context. Do not stretch that finding into a universal prescription. Treat it as an Alaska finding about those two polyethylene configurations.
What are alternatives to plastic for greenhouse coverings?
The supported alternatives here are glass and rigid polycarbonate. The available figures show that both can be evaluated alongside polyethylene for light transmission and thermal behavior; they do not establish a universal durability, cost, or lifespan ranking. Ask manufacturers for the published specifications for the exact panel, frame, and installation system, not just a generic material name.
How do I attach plastic sheeting to a greenhouse?
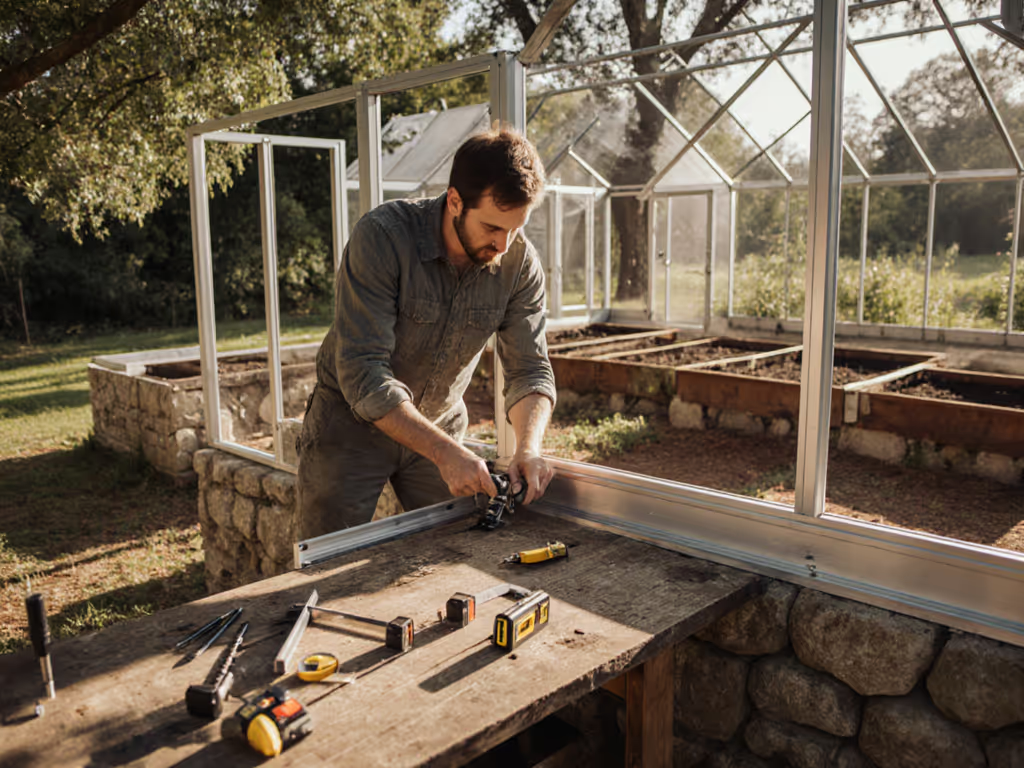
Attachment depends on the specific film and frame, so follow the covering and frame manufacturer's instructions. For its own PVC tarpaulin product, DERFLEX advises leaving roughly 10-15 cm of extra material for fastening and using bungee cords, zip ties, or clamps. It also advises maintaining tension to prevent sagging and water accumulation.
That is manufacturer guidance for one PVC-tarpaulin context, not a material-neutral installation method. Do not assume it applies to all polyethylene films, rigid panels, or frames.
Is 100°F too hot for a greenhouse?
There is no universal temperature threshold in the available evidence because plant tolerance and conditions vary. What is clear is that ventilation is necessary to remove excess heat and help manage humidity within the canopy. If a greenhouse regularly reaches temperatures that stress your intended plants, treat that as a system design problem (ventilation, circulation, shade strategy, and plant load), not a number to normalize.
Should a greenhouse be in full sun or shade?
Do not use a one-size-fits-all answer. UAF describes a solar-greenhouse orientation for Alaska: within 20 degrees of true south, with an east-west ridge so a long wall faces south. That guidance is specifically about solar energy capture in an Alaska context, not a universal siting rule. For a more detailed look at latitude, seasonal sun paths, and greenhouse positioning, consult this winter sun path positioning guide.
Measure sun exposure, heat buildup, wind, and drainage on your lot before committing. UAF's orientation guidance is specifically for solar-greenhouse energy capture in Alaska.
What should I watch for in a small greenhouse?
These practical points follow from the available guidance:
- Standard concrete in growing aisles. It may not drain properly, and OSU advises avoiding it there when possible.
- Using porous concrete where soil will clog it. Propagation and seeding work can compromise its drainage function.
- Leaving soil and organic debris in place before disinfecting. The disinfectant becomes less effective.
- Treating gravel or dirt as a cleanable floor. It cannot be properly cleaned and disinfected.
- Blocking or neglecting airflow. Ventilation removes excess heat and helps control humidity within the plant canopy.
- Treating covering figures as guarantees. UAF's light-transmittance values are material examples, not guarantees for every product or installation; its heat-retention figures are reported in an Alaska greenhouse context and vary by material.
Build a work zone that stays usable
Prioritize cleanable surfaces and accessible plant space. For coverings, the available examples describe light transmission and heat retention. Sanitize seedling equipment and remove residues promptly; then choose floor, bench, and airflow decisions that support routine cleaning and drainage.
For further exploration, take a notebook into the proposed site and log sun, heat buildup, wind, wet spots, and your longest task path from soil mixing to the clean bench. Use those notes to inform your greenhouse planning.
Related Articles