Safe Greenhouse Storage Shed Staging With Room To Move
By Hana Al-Khalil • 2nd Sep
What to do
Stage a greenhouse safely by protecting a clear walking route, choosing corrosion-resistant and well-supported bench materials, using only the exact manufacturer’s load rating, and keeping fans and airflow paths unobstructed.
- Start with: List your daily tasks, mark the door and primary route, then plan bench depth around the aisle. Commercial production references commonly use 4–5-foot benches, 3–5-foot main aisles, and 20–30-inch side aisles; these are not residential code or accessibility minimums.
- Then: Select a snag-free top that resists water, fertilizer, corrosion, and sagging. Trial the lightly loaded layout by carrying trays, watering, turning, and reaching before filling every shelf.
- Important prerequisite: Treat capacity and mounting as documented limits: do not infer load from wire gauge or support spacing, and do not attach shelves to glazing bars, trusses, or other frame members without approval for that exact installation.
If you are searching for a greenhouse storage shed setup, start with the part that makes daily growing easier: greenhouse staging that holds plants securely, leaves a clear route through the house, and does not interrupt air movement. The goal is not to pack every wall. It is to create a calm, usable work zone where you can water, prune, and carry a tray without turning sideways or catching a sleeve on a sharp edge.
I once inherited a hoop house where midday pruning felt unbearable. That experience made one lesson permanent: Cool the human, save the crop. A greenhouse you can comfortably enter, cross, and work in is one you will tend consistently.
Comfort grows plants, and keeps you tending through storms.
Step 1: Define What Your Staging Must Do
Before choosing steel greenhouse shelves, benches, or a DIY top, list the tasks that happen there. Staging is a working-height surface for plant care such as pinching, pruning, and repotting (not merely a place to stack pots).
Write down:
- Which crops need frequent handling
- Whether you carry trays, pots, or a cart through the space
- Where you stand while potting and watering
- Which wall needs to remain open for tall crops
- Where the door, vents, and any circulation fans sit
Then draw the greenhouse as a simple rectangle. Mark the door first. Draw a continuous walking line from the door to the far end, then back again while carrying your bulkiest ordinary tray or tool. That line is your primary aisle. Do not let shelving, stored empty pots, or a temporary bucket quietly consume it.
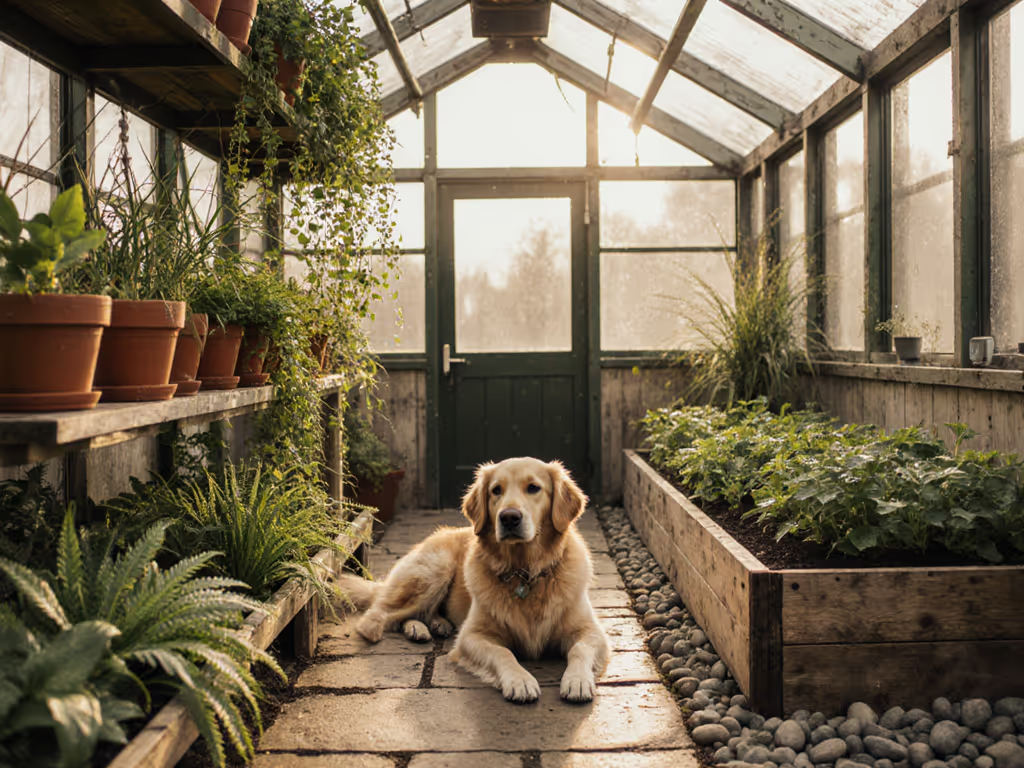
Keep the route to the door clear and easy to read at a glance.
Step 2: Set Greenhouse Aisle Spacing Before Bench Depth
A frequent layout mistake is buying deep staging first and discovering afterward that the aisle has become an obstacle course.
For stationary production-style benches, common reference ranges are:
- Bench width: 4-5 feet
- Main aisle: 3-5 feet wide
- Side aisle: 20-30 inches wide
These are common production-layout ranges, not residential building-code minimums or accessibility requirements. Do not assume a 20-30 inch side aisle will suit a cart, mobility device, or every grower.
Use the ranges as a starting visual model rather than a command. In a compact greenhouse, a narrower bench may buy you a much more comfortable main path. In a larger greenhouse, two long-wall benches can work well only if the central passage still feels effortless from door to back wall.
A helpful sketch in words: door at one short end, main aisle running straight ahead, planting or potting surfaces on the long walls, and no stored items narrowing the route near the entrance. For more ways to maximize small greenhouse space, plan the aisle and growing surfaces together. Let the aisle be the spine; arrange the rest around it.
Step 3: Choose a Bench Top That Handles Greenhouse Conditions
Choose a bench top that is strong enough to avoid sagging, resists corrosion from fertilizer and water, has no sharp edges, and is practical to install.
Practical material choices
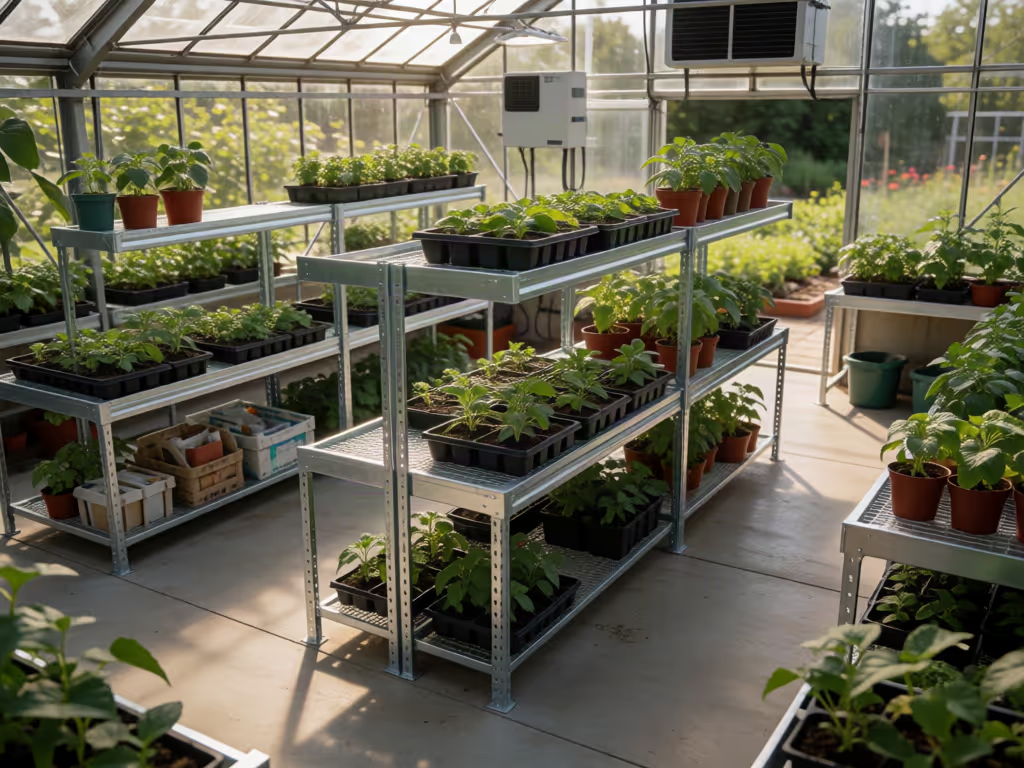
Welded-wire tops are a low-cost option when properly supported. UMass Extension recommends 10- or 13-gauge wire with 1.5-by-1.5-inch mesh, galvanized after welding. The open mesh helps keep the work surface visually light and avoids the puddled feeling of a solid tabletop.
Expanded-metal tops are another common option. Standard galvanized expanded metal is typically 13 gauge. For that specific standard material, supports are recommended on 24-inch centers. Do not transfer that support spacing to a different gauge, span, mesh, or shelf design.
Pressure-treated lumber can also be used for a bench top; UMass Extension reports a service life of 20 years or more in its treated-lumber context. The fasteners matter: nails and screws need appropriate treatment to reduce corrosion.
For the structure beneath the top, galvanized steel tubing or pipe is a common, long-lived support choice. Zinc galvanization is widely used to protect greenhouse steel, but remember that drilling, cutting, or welding pre-galvanized steel can expose unprotected metal. Follow the component maker's instructions rather than improvising alterations.
Run your hand (carefully) along every reachable edge before filling the bench. A snag-free surface is kinder to hands, sleeves, irrigation tubing, and tender foliage.
Step 4: Treat Plant Shelf Load Capacity as a Documented Limit
This is the part where cautious planning is wise. Plant shelf load capacity cannot be calculated safely from shelf material alone. Wire gauge, corrosion resistance, and support spacing do not tell you the safe load of a complete shelf.
Capacity depends on the whole assembly: the shelf span, supports, connections, brackets, and the actual load placed on it. Where the exact model has a manufacturer-rated load and installation instructions, use those rather than trying to derive capacity from materials or shelf dimensions.
Follow this simple check before loading any shelf:
- Find the rating for the exact tier or bench. Do not borrow a rating from a similar-looking unit.
- Confirm the rating applies to your configuration. Added extensions, altered supports, or a different mounting method can change the situation.
- Distribute containers across the surface. Do not assume one concentrated load behaves like an evenly spread load.
- Inspect for sag, loosened connections, and corrosion before each busy season.
- Move dense, frequently handled plants to the most robust, easiest-to-reach level rather than lifting them overhead.
Retail listings may show dramatically different tier ratings across products. That variation is exactly why a universal number is not useful. If the rating is absent, unclear, or does not match how you intend to install the shelf, choose another solution or obtain clarification before loading it.
Step 5: Keep Freestanding and Frame-Mounted Staging Separate in Your Mind
Freestanding staging and frame-mounted staging are not interchangeable. Retail guidance distinguishes freestanding units from cantilever staging intended for particular glazing-bar systems.
Fixed racks may be attached to the floor or overhead trusses, but suspended racks require a greenhouse frame strong enough for that added load.
Do not hang shelving from a truss, mount it to a glazing bar, or assume a frame can support a cantilever shelf unless the greenhouse and staging manufacturers explicitly permit that exact installation. There is no safe generic shortcut here. If you need to adapt a standard kit, review this guide to safe greenhouse kit customization before adding shelves or changing structural components.
Step 6: Protect the Air Path While You Add Storage
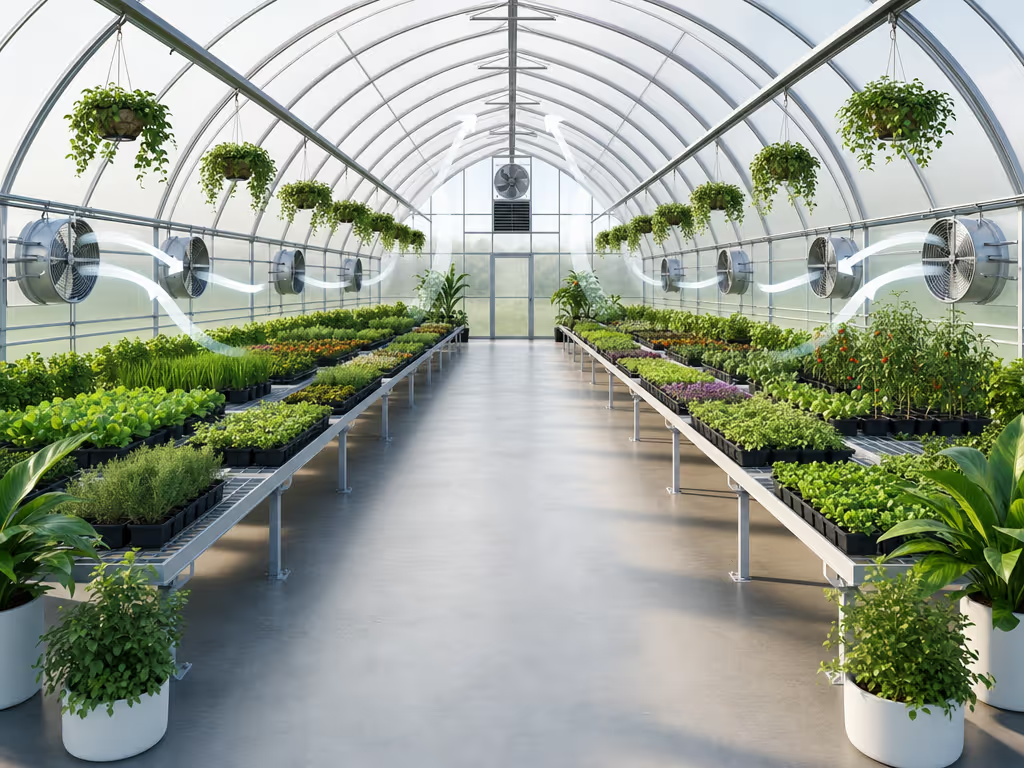
Staging should support the climate strategy, not become a wall that blocks it. Keep vents, fan intakes, and fan discharge paths open. Avoid turning the end of the greenhouse into a pile of pots, tools, and trays that stops air from traveling through the space.
If you use a horizontal-air-flow (HAF) system, its purpose is to maintain steady circulation. For a closer look at airflow performance, compare greenhouse ventilation systems using measures such as heat dissipation, humidity control, and air movement. Technical guidance describes air movement of 50-100 feet per minute and recommends total fan capacity at about twice the greenhouse floor area expressed in cubic feet per minute. For floor or bench crops, HAF fans are typically located 7-8 feet above the floor.
Tall crops and hanging baskets may require slightly greater fan capacity because they add turbulence. Added shelves and stored materials can also change how air feels in the room, even though there is no universal clearance distance for staging. After installation, walk the greenhouse on a warm day and notice the sensory clues: still, humid corners; leaves that never move; a warm pocket behind a solid stack of supplies. Rearrange obstructions and keep the circulation route legible.
Step 7: Finish With a Human-First Trial Run
Before filling every shelf, live with the layout for a week.
- Enter with both hands occupied.
- Water the farthest plant.
- Turn around at the end of the aisle.
- Reach the back of the bench without straining.
- Open and close the door without moving stored items.
- Look upward to ensure nothing interferes with fans or overhead components.
Adjust the system while it is still lightly loaded. Pair this trial run with a seasonal greenhouse maintenance checklist so inspections, cleaning, and preventative care stay on schedule. Often the best improvement is modest: remove one lower shelf, reduce bench depth, or relocate storage so the main path feels open again.
FAQ
What is staging in a greenhouse?
Greenhouse staging is a bench or shelf system that brings plants to a practical working surface for maintenance tasks such as pruning, pinching, and repotting.
What is the best height for greenhouse staging?
There is no single proven best height for every person or task. Retail guidance commonly describes staging around 760-910 mm (roughly 30-36 inches), but your comfortable height depends on whether you stand or sit, the tasks you do, and your reach. Trial placement with a temporary surface can prevent a costly ergonomic mistake.
What are the common staging mistakes?
The avoidable ones are choosing a top that sags or corrodes, using sharp-edged materials, treating a material detail as a load rating, mounting shelves to an unapproved frame location, and crowding airflow paths with plants or storage.
Keep Exploring, One Improvement at a Time
A tidy greenhouse does not need complexity for its own sake. Begin by measuring the aisle you want to protect, choose staging with a documented capacity, and preserve a clear path for both your body and moving air. Then observe the space through a hot afternoon and a busy watering day. Those small, honest adjustments are how a greenhouse becomes safer, easier to tend, and more generous season after season.
Related Articles