Greenhouse Kit Customization: Structural Modification Guide
By Hana Al-Khalil • 19th Jan
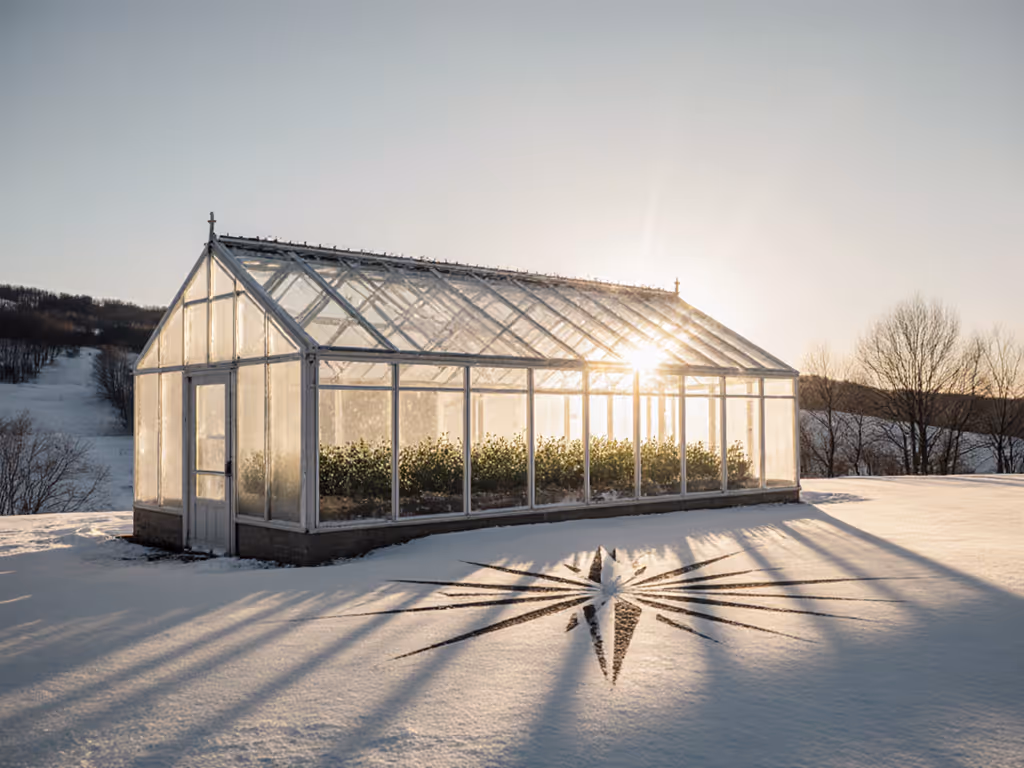
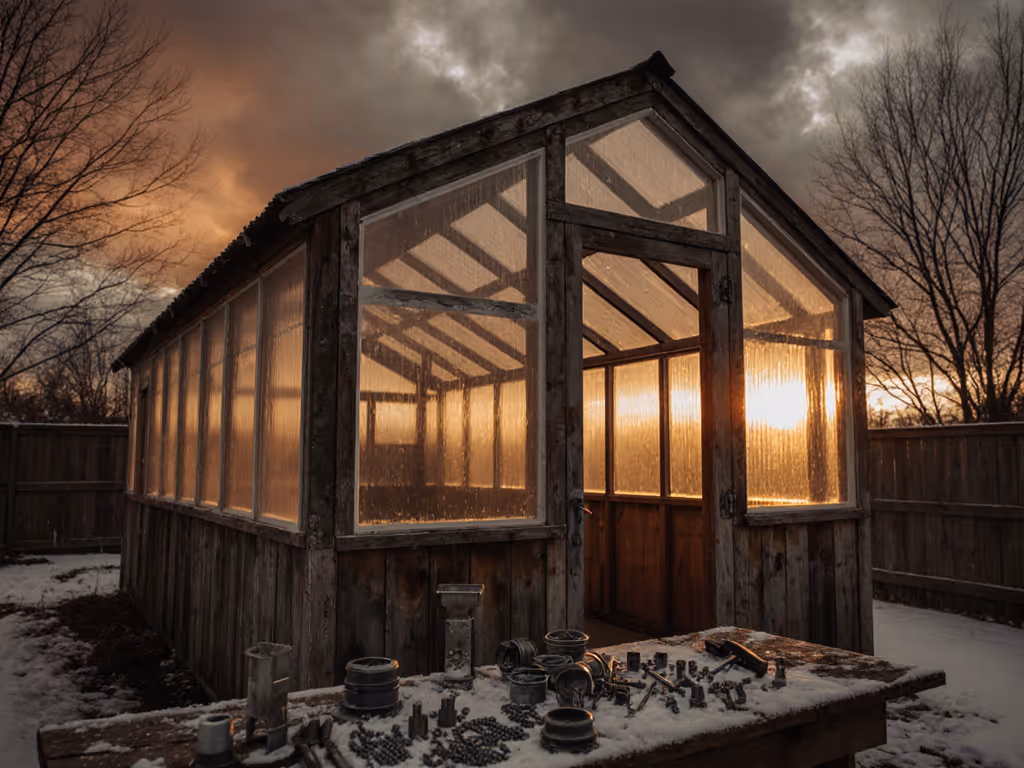
When I inherited a sun-trapped hoop house last spring, my tomatoes were scorched by 10 AM and the space felt like an oven. That's when I learned the hard truth: a standard greenhouse kit is merely a canvas. True resilience comes from thoughtful diy greenhouse modifications that harmonize with your microclimate. Let me show you how to transform your kit from a fragile shell into a space you'll want to tend through every season, where comfort grows plants and keeps you tending through storms.
Why Structural Tweaks Trump Plug-and-Play
Most greenhouse kits ship with cookie-cutter dimensions that ignore your unique sunlight angles, wind patterns, or winter chill pockets. I've seen gardeners panic when summer heat spikes wilt crops despite 'automatic vents', because those vents were installed without considering solar path or thermal flow. Structural changes aren't just cosmetic; they're survival tweaks. When you raise the frame height by 12" on landscape blocks, you're not just gaining headroom, you're creating buoyancy-driven airflow that pulls hot air upward. Adding northern thermal mass? That's free climate insurance. Remember: comfort sustains the habit; if you hate the space, you'll abandon it by July.
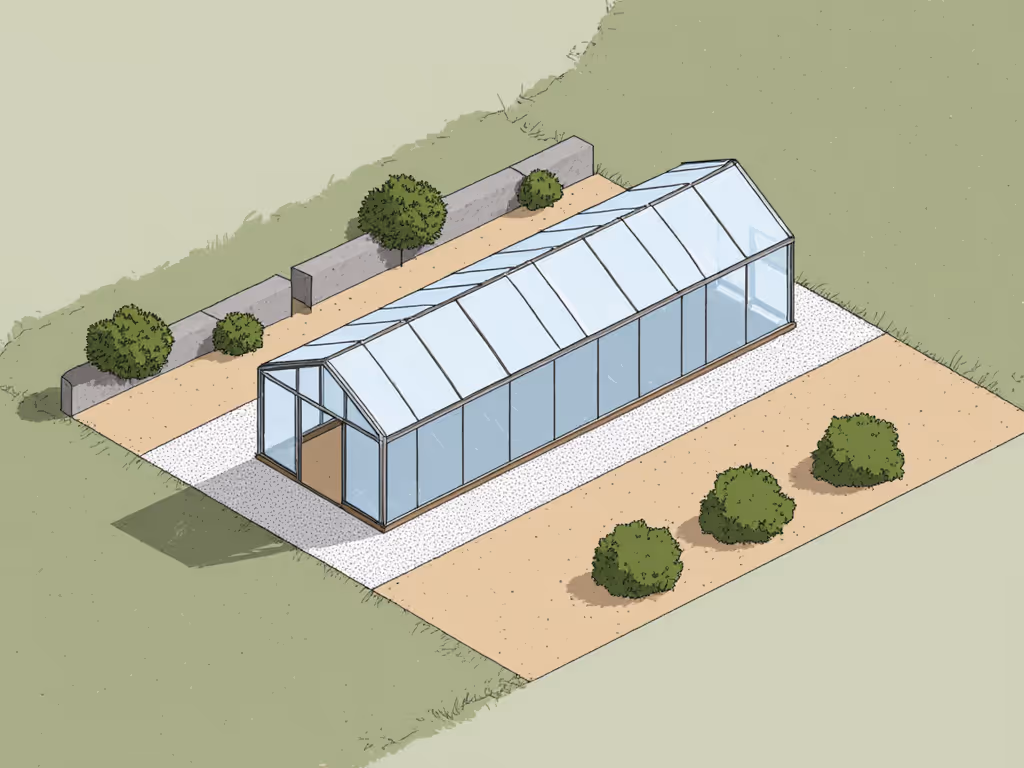
Site-First Structural Adjustments
Start with the ground, not the frame. Too many gardeners anchor kits directly on soil, only to discover frost heave cracks panels by April. My first fix: excavate 6" deep, layer 3" of gravel for drainage, then compact concrete sand. This creates a stable, level foundation for structural changes. For soil-specific anchoring and base options, see our soil-specific foundations guide. If you're adding height (like raising on landscape wall blocks), this base prevents settling that twists frames. For greenhouse structural changes, always prioritize:
- Orientation: Position the ridge east-west in hot climates to minimize afternoon sun exposure (critical for preventing heat stress). North-south works better in cloudy regions for even light. To dial orientation by latitude and season, use our winter sun path guide.
- Slope: Cut a 1-2% grade away from doors for water runoff (no more flooded seed trays during storms).
- Wind breaks: Plant a living windbreak (evergreen shrubs) 15-20' upwind, never solid walls that create destructive eddies against your frame.
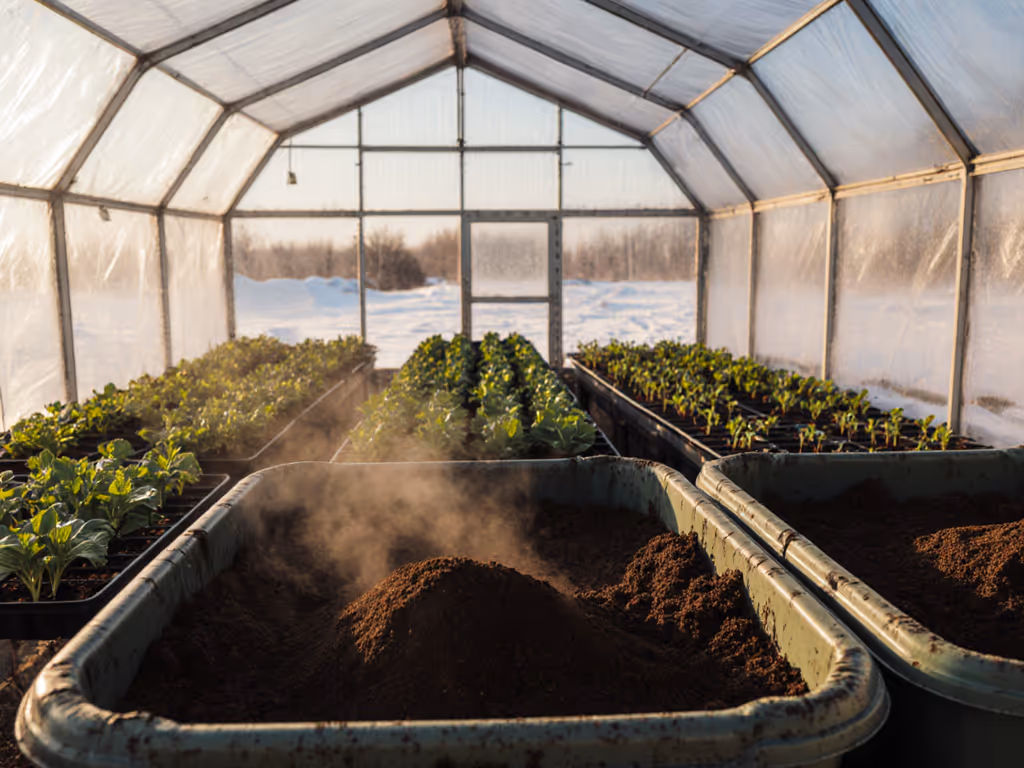
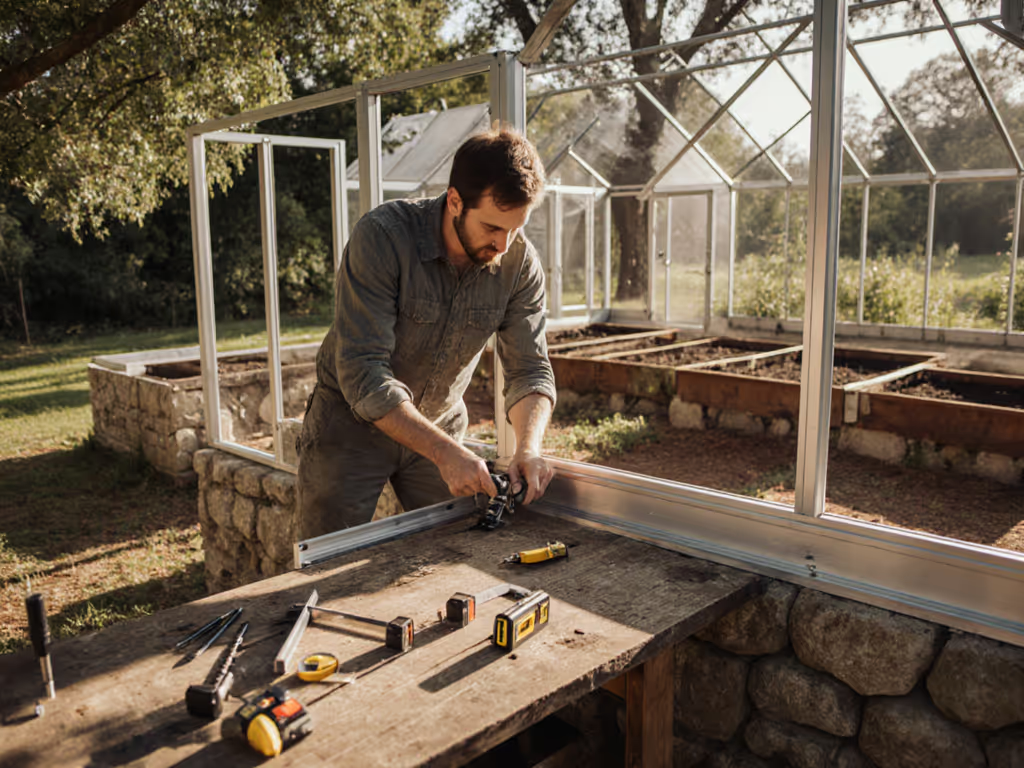
Critical Height and Ventilation Modifications
That cramped 7'-tall kit? It's a sauna trap. Kit adaptation techniques that add vertical space pay immediate dividends. I recommend raising frames 10-12" on stacked landscape blocks (secured with construction adhesive). This does three things:
- Creates thermal buoyancy: Hot air rises above your headspace, pulling cooler air through low vents.
- Adds thermal mass: Fill the hollow block core with water-filled barrels (painted matte black). They absorb noon heat, then release it gently at dusk, smoothing 20°F+ temperature swings.
- Improves ergonomics: No more back strain when repotting. Keep pathway widths at 30" minimum for wheelchair access or cart movement.
Cool the human, save the crop. When your body isn't fighting the environment, you notice subtle cues, like wilting basil before it's too late.
Pair height gains with strategic ventilation upgrades. If extreme heat is your main constraint, compare options in our ventilation kit comparison. Most kits skimp on roof vents. Install additional vents along the peak's high point (not just gables), angled downward to shed rain. Confirm add-on compatibility by checking your frame's internal width; many universal vents fit 1.5"-2" aluminum channels. Test airflow by lighting incense near a low vent: smoke should flow upward through roof vents within 60 seconds. If it pools, add a passive vent tube (corrugated PVC) running from north wall to peak.
Layout Hacks for All-Season Flow
Greenhouse personalization is where most kits fail users. That bargain potting bench? If it's 38" tall, it'll wreck your back after 20 minutes. I remake mine from pallet wood at 32" height, perfect for seated work. More importantly, position benches to create 'microclimate zones':
- North wall: Cool, stable temps for lettuce and seedlings (tuck thermal mass barrels here)
- Center path: Warmest zone for tomatoes/peppers (keep 24" clearance from walls for airflow)
- Southwest corner: Hottest spot, ideal for heat-loving figs, but add a removable shade panel for summer
Skip permanent shelves. Instead, use wall-mounted 'clip-and-go' brackets (like Palram's) that let you reposition shelves seasonally. A low shelf against the north wall holds watering cans, their thermal mass buffers temperature overnight. And always leave a clear 18" path to every exit: safe egress is non-negotiable during storms.
Your Structural Modification Checklist
Before altering a single frame, verify these:
- Weight distribution: Water barrels on blocks add 50+ lbs/ft. Confirm your foundation won't sink.
- Glazing limits: Raising walls may require cutting polycarbonate sheets. Reuse off-cuts for shade panels (white translucent film cuts heat 30% with minimal light loss). Before cutting panels, review our polycarbonate covering comparison to choose the right thickness and material for your climate.
- Wind certification: If adding height, anchor frames with ground screws (not just stakes) rated for your zone's gusts (check NOAA maps).
- HOA compliance: Paint frames matte black or charcoal (most associations approve 'discreet' colors versus shiny silver).
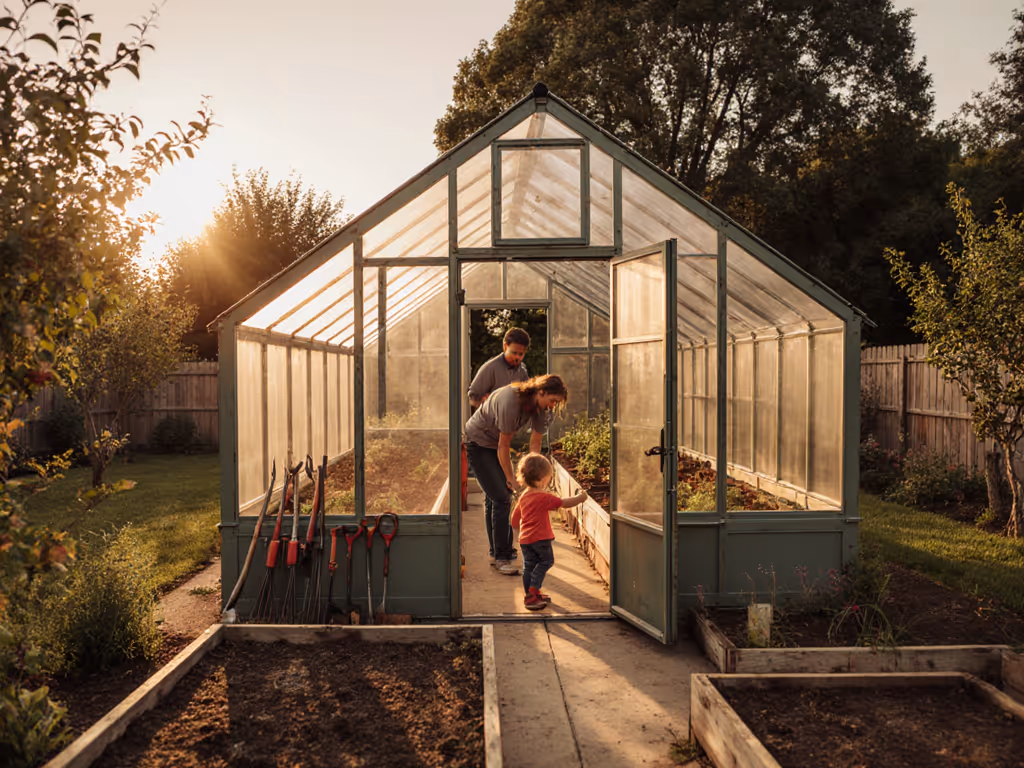
I'll never forget my elderly neighbor's relief when my modified hoop house became her midday refuge. She'd sit in that cooled space pruning heirloom tomatoes we'd never have saved otherwise. That's the magic of greenhouse kit customization: it stops being a tool and becomes a sanctuary.
Grow Into Your Space
Modifying your diy greenhouse isn't about complexity, it's about listening. Watch how morning sun hits your benches. Feel the humidity shift when you open vents. A bag of polymeric sand filled between bricks, or a repurposed pallet bench at the right height, transforms utility into joy. Start with one small structural change this week: raise a vent, add a water barrel, or sketch your airflow pattern with incense. When the space feels yours, you'll be there at dawn checking seedlings, even when it's -5°C outside. For more climate-specific adaptation strategies, explore our deep dive on passive solar greenhouse design for your hardiness zone.
Related Articles