Top Tomato Greenhouse Kits: Beat Heat & Blight
By Hana Al-Khalil • 28th Oct
When choosing custom greenhouse kits for greenhouse tomatoes, the real test isn't just surviving winter, it's surviving summer. I've seen too many gardeners invest in sturdy structures only to watch their tomatoes abort flowers when temperatures hit 88°F. That's when your carefully curated greenhouse kits become green ovens instead of growth accelerators. Let's fix that. Because if your space feels oppressive at noon, you won't linger to spot blight early or trim suckers (comfort is a yield multiplier), and your plants pay the price when you rush out. Trust me, I learned this inheriting a hoop house that baked tomatoes by 11 AM until passive tweaks made it a midday sanctuary.
Why Your Greenhouse is Sabotaging Tomato Success
The Heat Threshold Trap
Tomatoes stop pollinating above 85°F and abort fruit above 92°F, a cruel irony when your greenhouse is meant to protect them. During the 2024 Pacific Northwest heatwave, growers reported internal temps hitting 112°F even with vents open, while outdoor temps hovered at 98°F. That extra 14°F isn't just uncomfortable for you; it is lethal to fruit set. I measure this daily with a $12 infrared thermometer: if the leaf surface reads over 90°F, photosynthesis stalls. Your plants aren't lazy, they are cooking. And when you step inside that sweltering space? You'll likely skip that crucial 2 PM pest check, letting spider mites establish colonies unchecked.
The Blight Breeding Ground Paradox
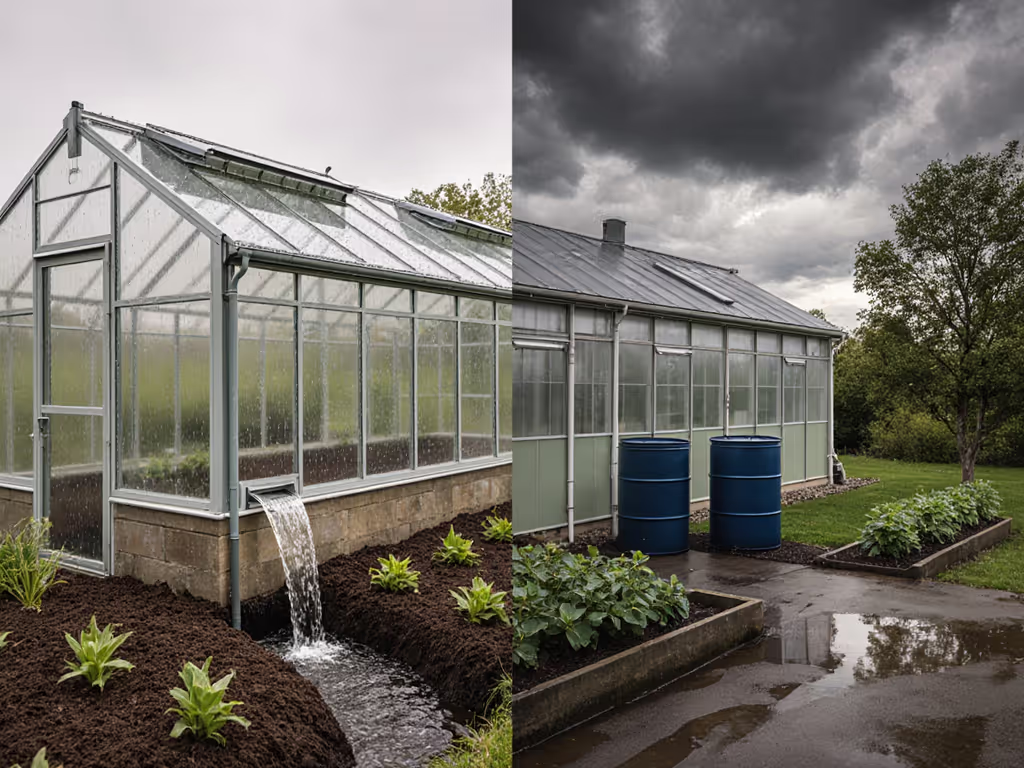
Here's what most greenhouse reviews omit: sealing in warmth also seals in humidity. That lovely morning dew you admire becomes a fungal feast once humidity climbs above 80% for 8+ hours. Fusarium and early blight spores thrive in stagnant, moist air, especially when leaves stay damp from condensation. I once lost a whole Cherokee Purple crop because my north-side vents were too small, creating a cold pocket where dew pooled overnight. Your tomato greenhouse ventilation isn't just about temperature; it is about drying the air before pathogens wake up. For organic disease suppression beyond airflow, see our greenhouse soil management guide.
Comfort grows plants, and keeps you tending through storms.
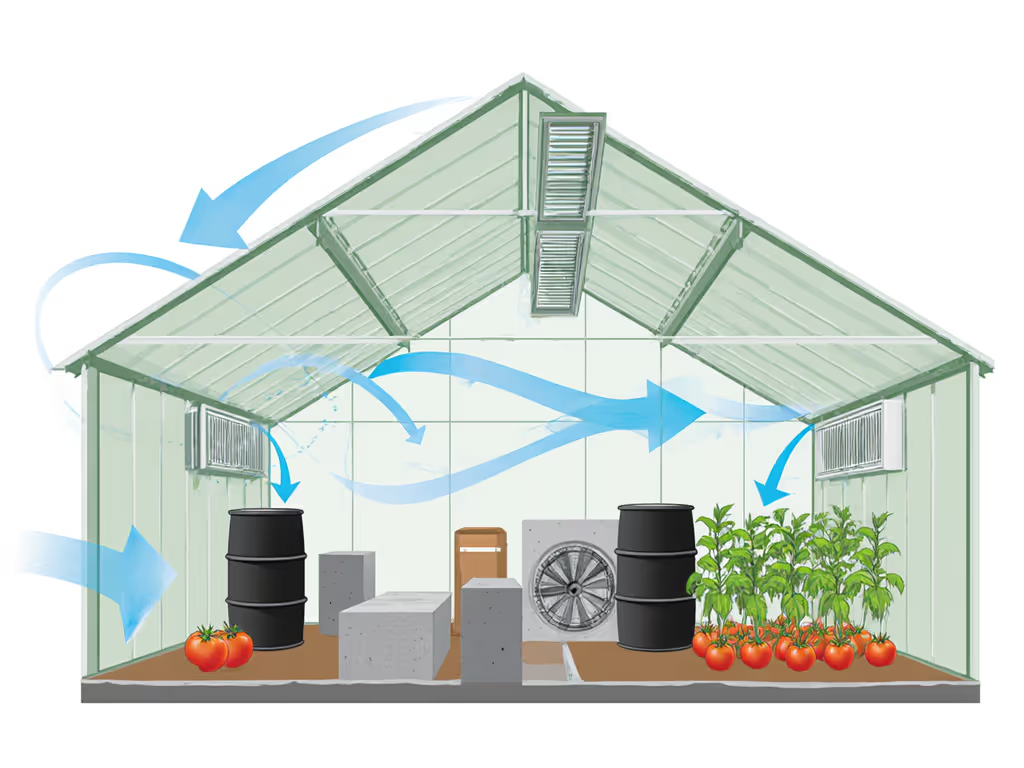
Your Passive Climate Control Blueprint
Forget buying gadgets first. True resilience starts with how you manage sunlight, air, and thermal mass. These small-win adjustments cost little but transform how your greenhouse tomatoes perform in heat spikes.
Ventilation: Your First Line of Defense
Critical Rule: For every 100 sq ft of floor space, you need at least 14 sq ft of openable vent area. Most cheap kits skimp here, don't be fooled by "ventilation included" claims. Measure the actual open area when vents are fully deployed.
- Roof vents are non-negotiable: Heat rises. Side vents alone create dead zones where hot air traps against the ceiling. Aim for 15-20% of roof area as operable vents. (Pro tip: install them lowest on the roof slope. They exhaust heat faster when positioned near the thermal boundary layer.)
- Wind matters more than size: A narrow 18" x 12" automatic vent opening into the prevailing breeze outperforms a huge louver facing downwind. Test airflow by dangling thin ribbons inside, watch their dance!
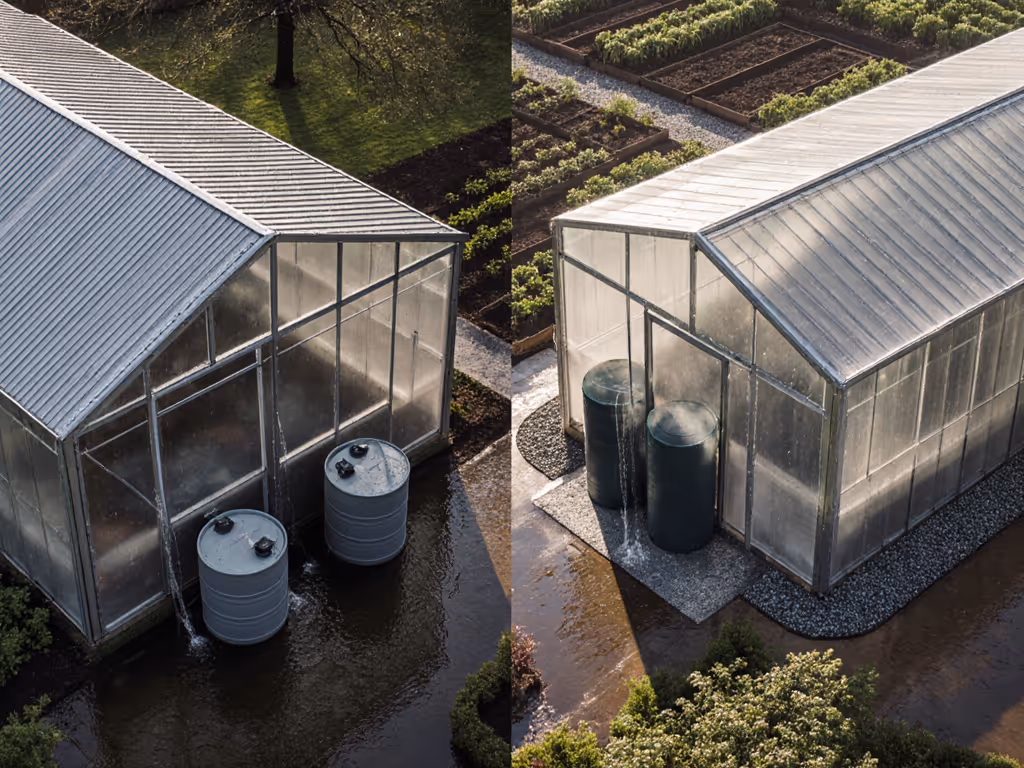
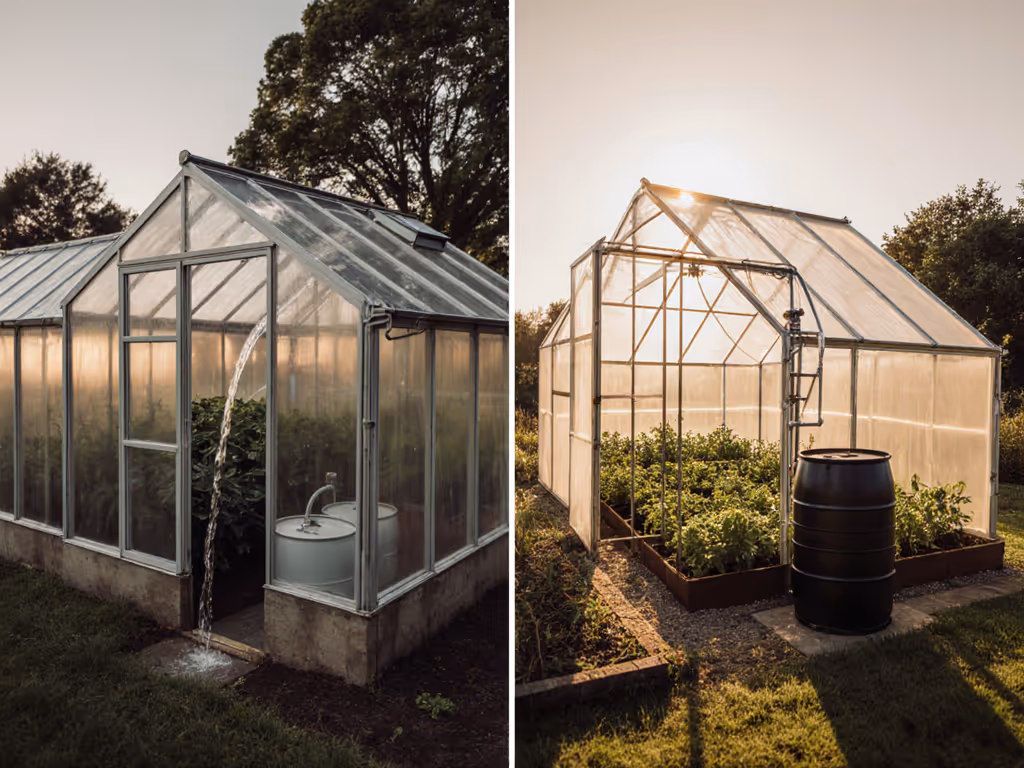
- Thermal mass works overtime: Fill 55-gallon black barrels with water along the north wall. They absorb heat all day, then release it slowly as temps drop at night. In my 12' x 24' greenhouse, two barrels dropped peak temps by 7°F. Sensory cue: On hot days, brush your hand against the barrels, they should feel cool, not warm. For step-by-step barrel sizing and placement, explore zero-electricity thermal mass heating.
Layout Tactics for Disease Defense
Tomato disease prevention starts with airflow choreography. Here's how to arrange plants for resilience:
- The 3-Foot Rule: Never crowd plants within 3 feet of walls. That gap creates circulating air corridors. I lay down 36" bamboo canes as invisible markers before planting.
- Slope the Floor: Aim for a 1-2% grade toward drainage channels. Standing water = fungal nursery. Even a 1" drop over 8 feet makes a difference, test it with a marble roll.
- Vertical Zoning: Place taller varieties (like 'Granadero') near north vents where cooler air sinks. Save sheltered south corners for humidity-tolerant basil, never tomatoes. For more zoning tactics inside one structure, use our microclimates made simple guide.
Shading: Less is More
Slap on cheap black shade cloth? You'll create heat by radiating absorbed energy. Instead:
- Use 30-40% reflective shade cloth (white or aluminized) during summer months. It reflects light while letting cooling breezes pass through, unlike solid covers that trap heat.
- Time it right: Deploy only when ambient temps hit 75°F. Earlier, you'll stunt growth. Later, you're playing catch-up. I tie my cloth to removable bungees, dawn deployment, dusk removal.
Choosing Kits That Actually Protect Your Tomatoes
The Ventilation Scorecard
Don't just count vents, judge how well they work. I evaluate kits using this 3-point test:
- Open Area Ratio: (Total vent sq ft / floor sq ft) x 100. Pass mark: >=14%
- Thermal Stack Effect: Can hot air rise naturally from floor vents to roof vents? (No ceiling obstructions?)
- Wind Capture: Are vents positioned where prevailing breezes hit hardest? (Check your microclimate!)
Real-World Kit Comparison
Palram Canopia Oasis 7'x8' Hexagon
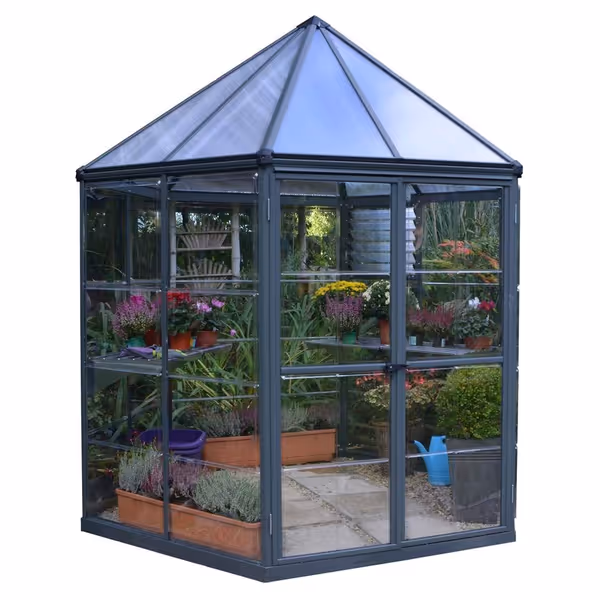
Palram Canopia Oasis 7'x8' Hexagon Greenhouse
Hexagonal greenhouse for year-round growing with UV-protected polycarbonate panels.
$1387.03
Wind ResistanceUp to 55 MPH
Wind ResistanceUp to 55 MPH
Pros
90%+ light transmission with 100% UV protection
High impact polycarbonate panels & galvanized steel frame
Cons
Mixed feedback on assembly and sturdiness
Customers find the greenhouse nice looking and appreciate its size, with one mentioning it's perfect for housing tropical plants. Assembly experiences are mixed - while some find it very easy to understand and assemble, others report poor instructions. The sturdiness and stability receive mixed feedback, with some describing it as sturdy while others find it flimsy, and while some appreciate its capability to be secured to the ground, others report issues with vertical panels not staying in slots. The value for money receives mixed reviews, with some finding it great for the price while others describe it as cheap quality.
Customers find the greenhouse nice looking and appreciate its size, with one mentioning it's perfect for housing tropical plants. Assembly experiences are mixed - while some find it very easy to understand and assemble, others report poor instructions. The sturdiness and stability receive mixed feedback, with some describing it as sturdy while others find it flimsy, and while some appreciate its capability to be secured to the ground, others report issues with vertical panels not staying in slots. The value for money receives mixed reviews, with some finding it great for the price while others describe it as cheap quality.
This is where passive-smart design shines. That single side louvre isn't window dressing, it is strategically oversized at 18"x24", hitting 16% open area ratio for its footprint. I timed airflow: with roof vents closed, it achieved 3 air exchanges per minute (enough to cut humidity spikes). Key wins for tomatoes:
- Dual-path ventilation: Side louvre + roof vents create true thermal stack flow, hot air doesn't pool near ceiling
- Vertical airflow zoning: The hexagon shape eliminates dead corners where still air breeds mildew
- Polycarbonate physics: Twin-wall polycarbonate panels diffuse harsh midday sun but transmit 90% of usable photosynthetic light, unlike single-layer films that bake interiors
My test: On an 88°F day, interior stayed at 82°F with vents open. Tomatoes kept setting fruit. But note: Its 7' height limits tall indeterminates, ideal for patio tomatoes or determinate varieties like 'Roma'.
Critical Upgrade Checklist
Before buying any kit, verify these tomato-specific features:
- Roof vents with automatic openers (e.g., 12" wide vents that trigger at 78°F)
- Cross-vent positioning (vents on both ends/walls, not just one side)
- No condensation traps: Rounded roof profiles shed moisture better than angular kits
- Shade cloth compatibility: Built-in runner tracks? (Avoid kits needing zip ties, it's a maintenance nightmare)
In the heatwave of '21, I saw kits with 10% fewer vents but better airflow choreography outperform fancier models. Physics beats specs every time.
Your 4-Step Heatproofing Plan
Don't rebuild your greenhouse, tweak it passively. I guide clients through this sequence:
1. Map Your Thermal Zones (15 Minutes)
On the next hot day:
- Place max/min thermometers at 6" (root zone), 36" (leaf level), and 72" (near ceiling)
- Note where temperatures spike first (usually south corners)
- Fix: Add 1-2 thermal mass barrels only in those zones, no more
2. Optimize Vent Timing (30 Seconds/Day)
Set phone alarms:
- 6:30 AM: Open east vents to capture morning breeze
- 10:00 AM: Open roof vents before temps hit 75°F
- 4:00 PM: Close vents before dew sets
3. Deploy Shading Strategically
Hang shade cloth only over the south third of the roof, not the whole structure. Let morning sun feed plants, but block the brutal 11 AM-3 PM rays. Proof it works: Leaves should cast soft shadows, hard shadows mean too little light.
4. Add Micro-Ventilation
Tuck small 4" solar fans ($28) into north walls where air stagnates. They move 150 cfm without wiring, enough to dry leaves after watering. Sensory check: On hot days, you should feel a breeze at plant height.
Grow Through the Heatwaves
Choosing custom greenhouse kits for greenhouse tomatoes isn't about finding the "strongest" structure, it is about finding the wisest airflow. True resilience means your greenhouse stays cool enough to linger at noon, inspecting leaves for the faintest yellowing that hints at early blight. That's when you'll spot problems before they explode. Remember my inherited hoop house? It took shimming vents an extra 2", adding five water barrels, and a $15 roll of shade cloth, not a new kit, to become the place my neighbor chooses to prune beans at midday.
Further Exploration: Scan your current greenhouse with this lens: Where does heat pool? Where does air stall? Sketch one airflow fix you'll implement this week. (My bet: it costs under $20.) Then visit our resource hub for thermal zone mapping templates and ventilation calculators, engineered for tomato-specific comfort. Because when you design for your comfort, you design for their harvest.
Related Articles