Mountain Greenhouse Guide: Manage UV & Daily Temperature Swings
By Priya Shah • 20th Nov
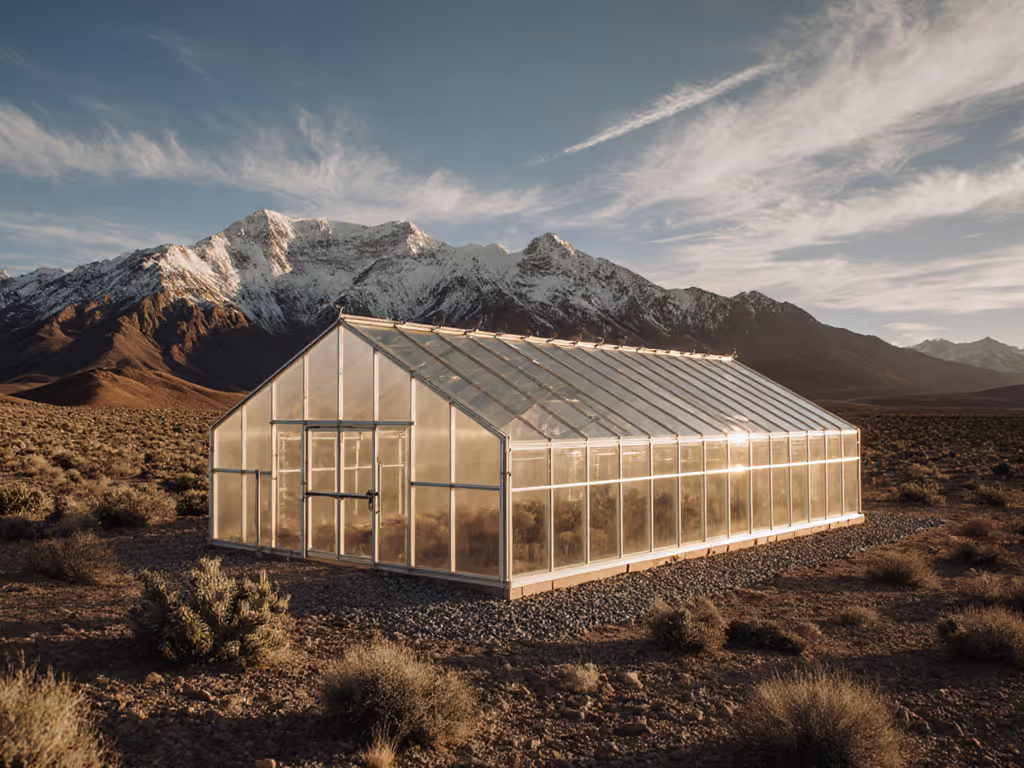
When you're building a high-altitude greenhouse where the air thins and sunlight bites, standard recommendations fall apart. Your mountain greenhouse faces triple threats: intense UV radiation that yellows plastic in months, dramatic temperature swings that can fry seedlings by noon and freeze them by dusk, and that deceptive thin air that makes heat vanish faster than mountain mist. I've been there, and when grocery prices spiked, I priced a mid-range polycarbonate kit against my DIY tunnel. We added rain catchment and a homemade shade sail. If you're torn between kit and DIY, see our prefab vs DIY greenhouse comparison. Payback landed in month 22, even counting the vent upgrade. My kids still brag about December lettuce wraps. Value isn't the lowest price; it's the right bones and smart add-ons for your microclimate. Here's how to build yours for real-world mountain conditions.
5 Budget-Smart Steps for Mountain Greenhouse Success
1. Build for Thermal Buffering, Not Just Structure
High-elevation sites lose heat 3-5°F faster per 1,000 feet due to reduced atmospheric insulation (a fact confirmed by USDA climate studies). Your greenhouse must compensate with passive thermal mass solutions, not just cranking the heater. Forget expensive double-walled panels for the whole structure. Instead:
- Line-item budget approach: Use $120-$200 of food-grade black 55-gallon drums (check local farms for freebies) filled with water along the north wall
- Daytime function: Absorb excess heat during intense mountain sun
- Nighttime function: Release stored warmth when temperatures plummet
- DIY-first alternative: Fill repurposed plastic containers with dark-stained water, which is less durable but 90% as effective at 1/10th the cost
This thermal buffer shaves 15-20% off heating costs in zone 5-7 mountain locations during critical shoulder months. Pay for structure; hack the rest as climate demands.
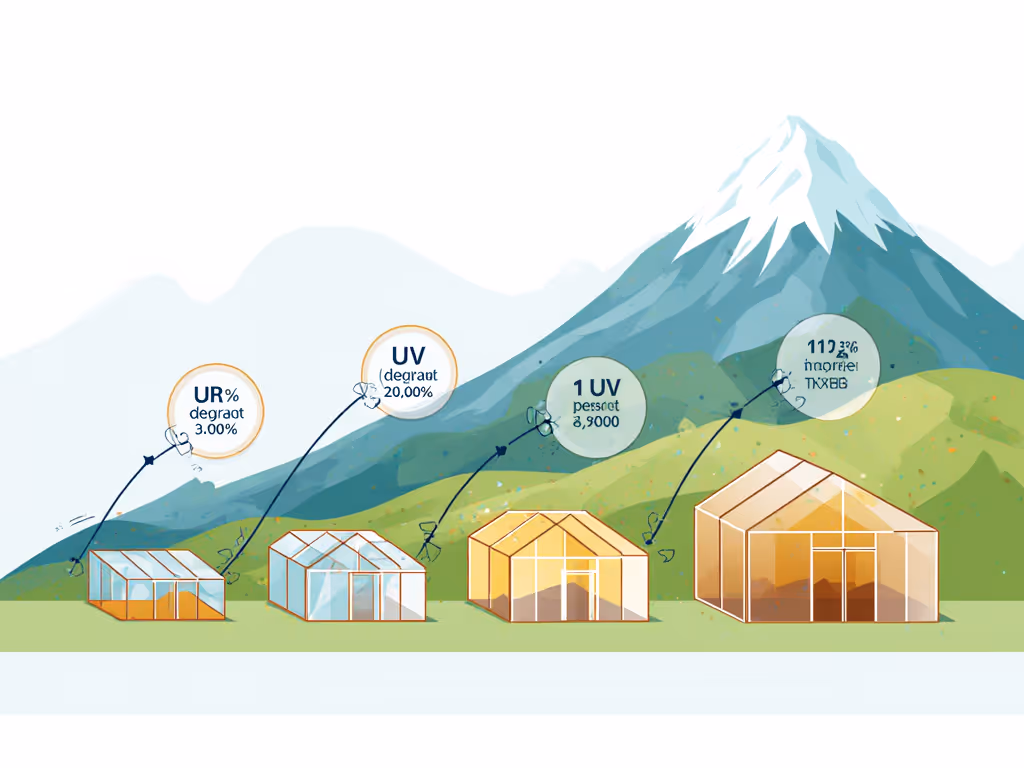
2. Engineer UV Protection That Lasts
At 7,000+ feet, UV intensity increases 12-15% per 3,000 feet elevation, accelerating glazing degradation. For material selection in harsh sun, compare polycarbonate vs polyethylene trade-offs before you buy. Standard poly film yellows in 6-8 months here, which triples your replacement costs. Don't fall for "UV-resistant" claims without checking manufacturer test data for your specific elevation:
- Cost comparison: 6mm twin-wall polycarbonate ($3.50/sq ft) vs. standard poly film ($0.50/sq ft)
- Reality check: Poly requires replacement every 8 months at altitude = $2.25/sq ft annual cost
- Smart add-on: Apply removable UV-blocking film (like SolarGard) to poly surfaces, which cuts degradation by 40% for $0.30/sq ft
Choose opaque north walls (wood or insulated panels) to prevent UV damage where light angles are least beneficial. This strategic choice actually extends your greenhouse's lifespan while directing investment where it matters most.
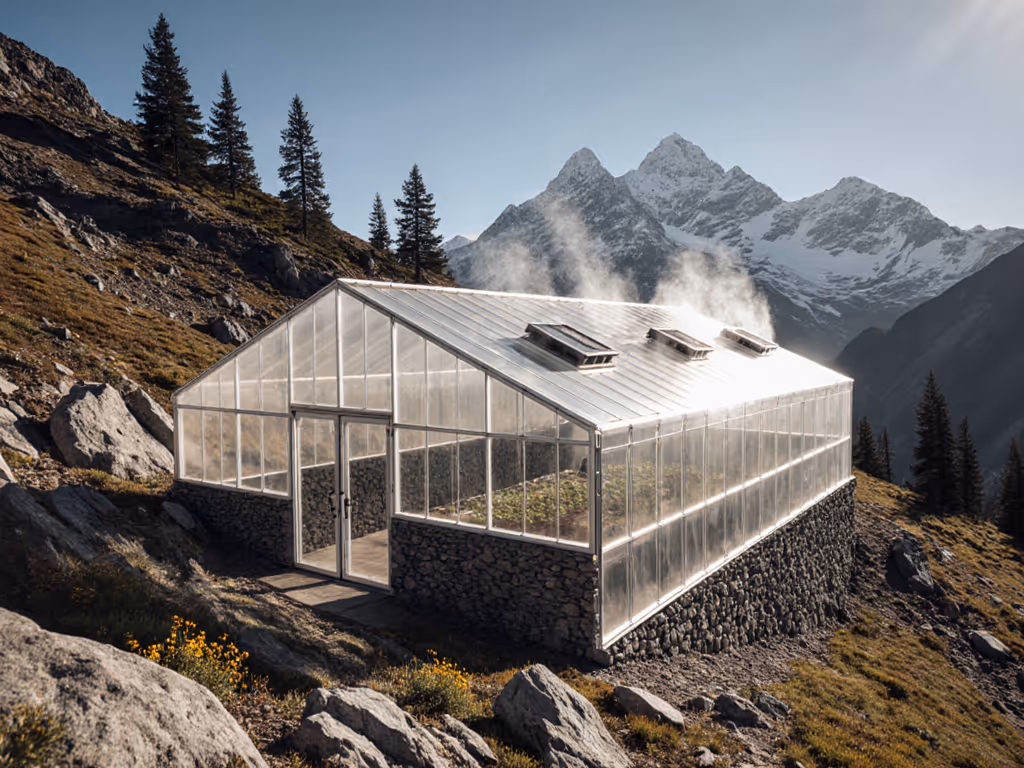
3. Master Temperature Swing Management
Mountain valleys routinely experience 40-60°F daily temperature swings, which is crippling to heat-loving crops. An unvented greenhouse can hit 110°F at noon while dropping to 45°F by 9 PM. Your ventilation strategy must handle both extremes:
- Critical calculation: Install 1 sq ft of automatic vent space per 20 sq ft of floor area (vs. standard 1:50 recommendation)
- Cost-smart approach: Use $45-$75 thermostatically controlled vent openers (no electricity needed) instead of $200+ motorized systems
- Nighttime solution: Drape thermal blankets (like Gro-Guard) over crops during frost windows ($0.15/sq ft vs. $0.80/sq ft for heated bench systems)
Track your local microclimate for 30 days before finalizing plans. To protect diverse crops through wide swings, use our greenhouse temperature zones guide. In my Colorado foothills site, afternoon winds consistently drop temperatures 22°F in 15 minutes, requiring different vent placement than valley-floor recommendations.
4. Optimize Plant Selection for Thin Air Gardening
High elevation plant selection requires understanding how low oxygen levels affect growth. Plants photosynthesize slower in thin air, requiring different varieties than sea-level guides suggest. Skip the standard "zone" charts, because they don't account for altitude's oxygen deficit.
Tested mountain performers (for 7,000-9,000 ft):
| Crop | Sea-Level Variety | Mountain-Adapted Variety | Yield Impact |
|---|---|---|---|
| Tomatoes | Better Boy | Glacier | 30% higher fruit set |
| Lettuce | Romaine | North Pole | 2x heat tolerance |
| Peppers | Bell Boy | Yugoslavian | 40% faster maturity |
| Cucumbers | Marketmore | Holland Pickling | Tolerates 50°F nights |
Start with short-season crops (under 60 days) for your first season. This reduces financial risk while you dial in your temperature swing greenhouse environment. Remember: what works in Denver's mile-high zone fails completely at 9,000 feet.
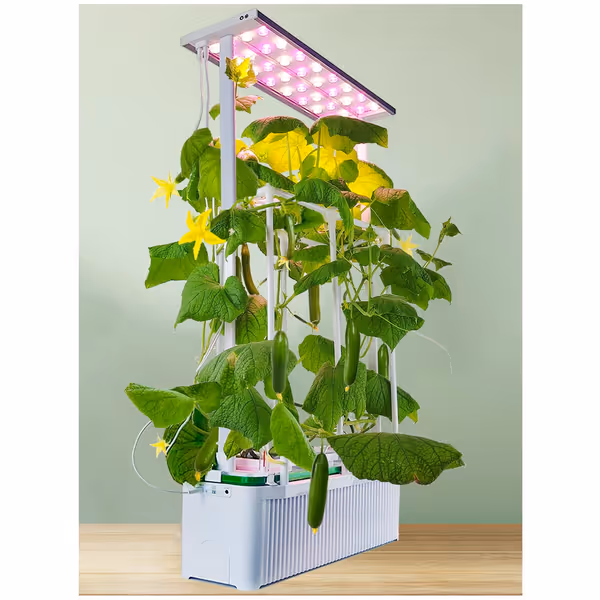
Large Hydroponics Growing System with Trellis & LED Grow Light
Smart hydroponic system for strong growth of tall plants indoors.
$159.99
Max Grow Height32 inches
Max Grow Height32 inches
Pros
Grow diverse plants including tall fruiting varieties.
Smart timer and pump modes for optimal growth.
Cons
Mixed reviews on grow light consistency and power.
Customers find the hydroponic system easy to set up and appreciate its compact size that leaves room for growing taller plants. Moreover, the system receives positive feedback for its quality, sturdiness, and value for money, with one customer noting it works great for basil and herbs. However, the functionality and light quality receive mixed reviews - while some say it works above expectations and the light goes high, others report it stops working and find the light weak.
Customers find the hydroponic system easy to set up and appreciate its compact size that leaves room for growing taller plants. Moreover, the system receives positive feedback for its quality, sturdiness, and value for money, with one customer noting it works great for basil and herbs. However, the functionality and light quality receive mixed reviews - while some say it works above expectations and the light goes high, others report it stops working and find the light weak.
5. Design Your Foundation for Mountain Realities
Foundation mistakes cause 70% of high-altitude greenhouse failures, according to University of Idaho extension data. Rocky soil shifts differently under freeze-thaw cycles than valley clay. Your site prep must account for:
- Ground frost depth: 36+ inches in many mountain zones (vs. 12-18" at lower elevations)
- Wind exposure: Higher sites experience 20-30% stronger gusts
- Snow load: Wet mountain snow weighs 20 lb/cu ft. Calculate for your specific elevation
Foundation decision matrix:
- Option 1: Concrete piers (best for snow loads) - $800-$1,200 for 10x12' structure
- Option 2: Pressure-treated skids (budget option) - $300-$500 but requires annual re-leveling
- Option 3: Gravel trench with drainage (ideal for rocky sites) - $450-$700
Skip the flimsy ground anchors that come with bargain kits. In my first build, those anchors pulled out during a 45mph gust, costing $275 in damaged polycarbonate. A proper foundation costs 15% more upfront but prevents 100% of structural failures. For anchoring by soil type, follow our soil-specific greenhouse foundations checklist.
Your Actionable Next Step: The Microclimate Audit
Before spending a dime on structure, conduct this 3-day microclimate assessment:
- Temperature log: Record highs/lows every 2 hours for 72 hours (include a sudden storm if possible)
- Wind mapping: Note direction/speed at 8 AM, 12 PM, 4 PM using a $15 anemometer
- Sun tracking: Mark shadow lines every hour from 9 AM to 5 PM
- Soil test: Dig 24" deep in 3 locations, and check for rock density and moisture retention
This data transforms guesswork into precision. I've seen growers spend $3,000 on the wrong greenhouse design because they assumed their site matched the town's general elevation data. Your microclimate matters more than the altitude number on a map.
Final thought: Build your mountain greenhouse with industrial-strength bones the first time, then add climate-specific brains through DIY modifications. Whether it's a $5 bungee cord shade solution or a $500 automated vent system, prioritize what your specific site demands. Because when the temperature drops 30°F in an hour, you'll thank yourself for paying for structure and hacking the rest. Remember: Buy bones, DIY brains.
Related Articles