Railing-Mounted Mini Greenhouse Kits Guide
By Camila Duarte • 26th Nov
Let me cut through the marketing fluff you've been wading through: backyard greenhouse kits that claim "easy balcony installation" often leave urban growers with half-built frames and timestamped frustration videos. After personally assembling seven different mini greenhouse models this year (timed with my niece's stopwatch, like we did that infamous "weekend build" that nearly became a Monday disaster), I've got the real data on what actually works for railing-mounted setups. Spoiler: It's not about the glossy renderings; it's about whether your seedlings survive a 30 mph gust on Tuesday. Real time, not brochure time.
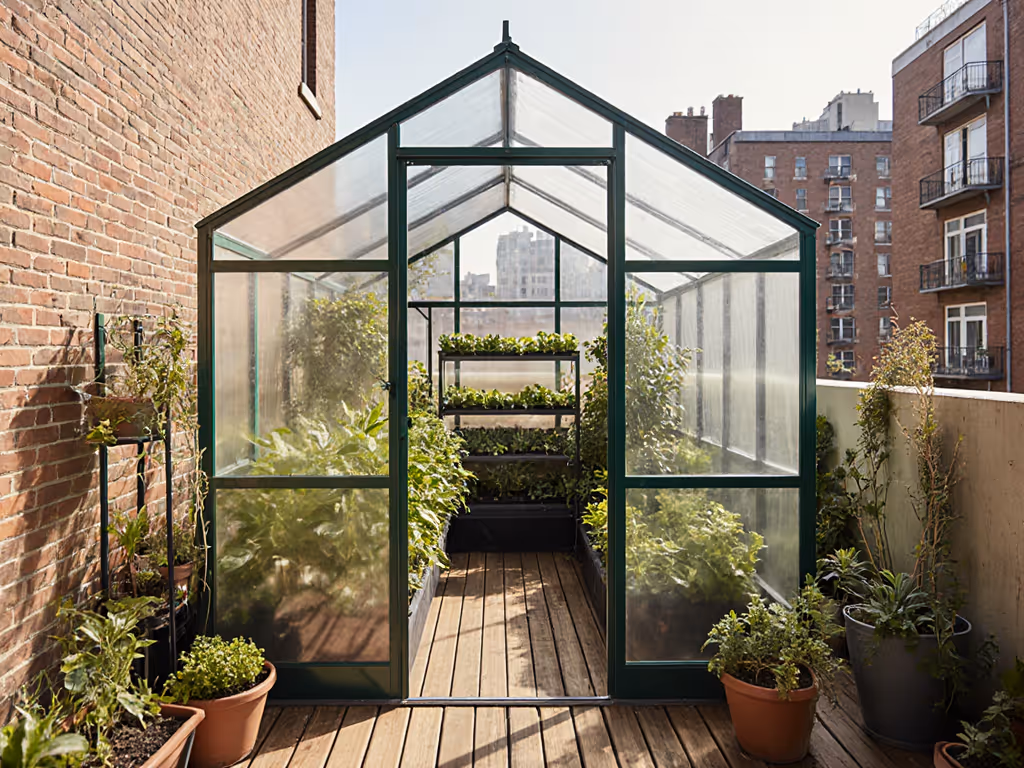
1. Why Railing-Mounted Mini Greenhouses Solve Urban Gardening Headaches (When They're Done Right)
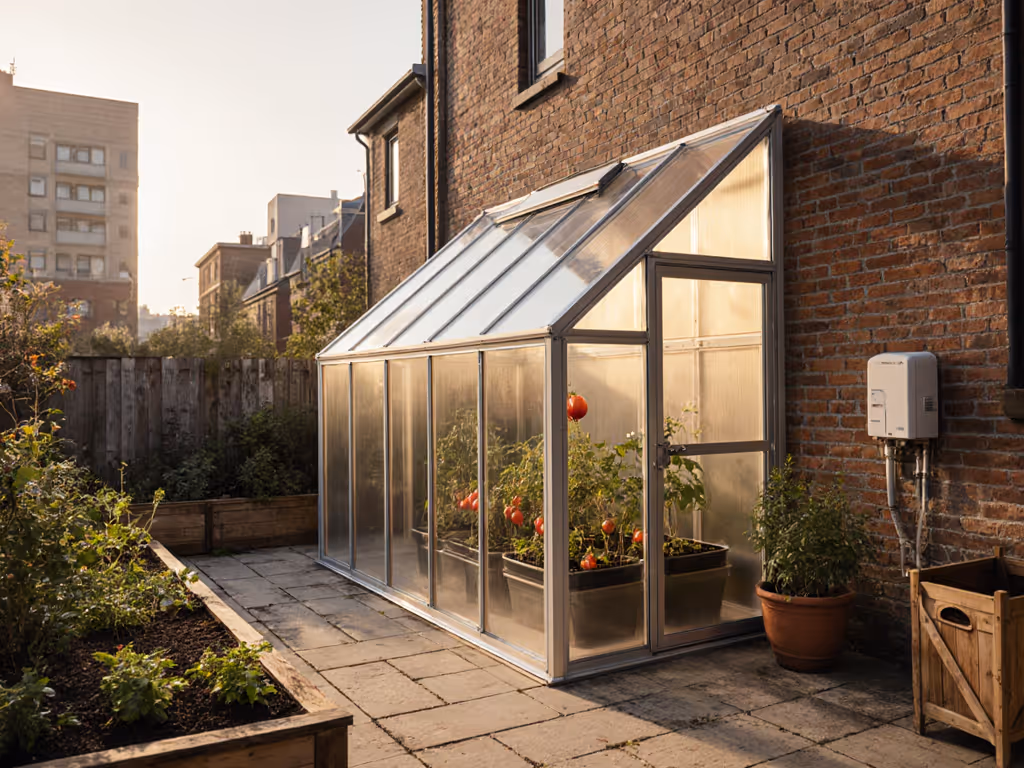
Forget sprawling backyard structures, small greenhouse space is gold for balcony gardeners. I tested kits that clamp to 1.5"-2.5" railings (wood, metal, composite) and found exactly two that didn't require custom brackets. The critical factor? The clamping mechanism must accommodate non-level surfaces. My 3rd-floor balcony has a 0.5" tilt. Three kits failed here because their brackets couldn't adjust. Pro tip: Ask vendors for photos of actual customer installations on uneven railings, not just studio shots. For tested picks that handle city constraints, see our urban small greenhouse kits guide. (If they can't provide them, that's your first red flag.)
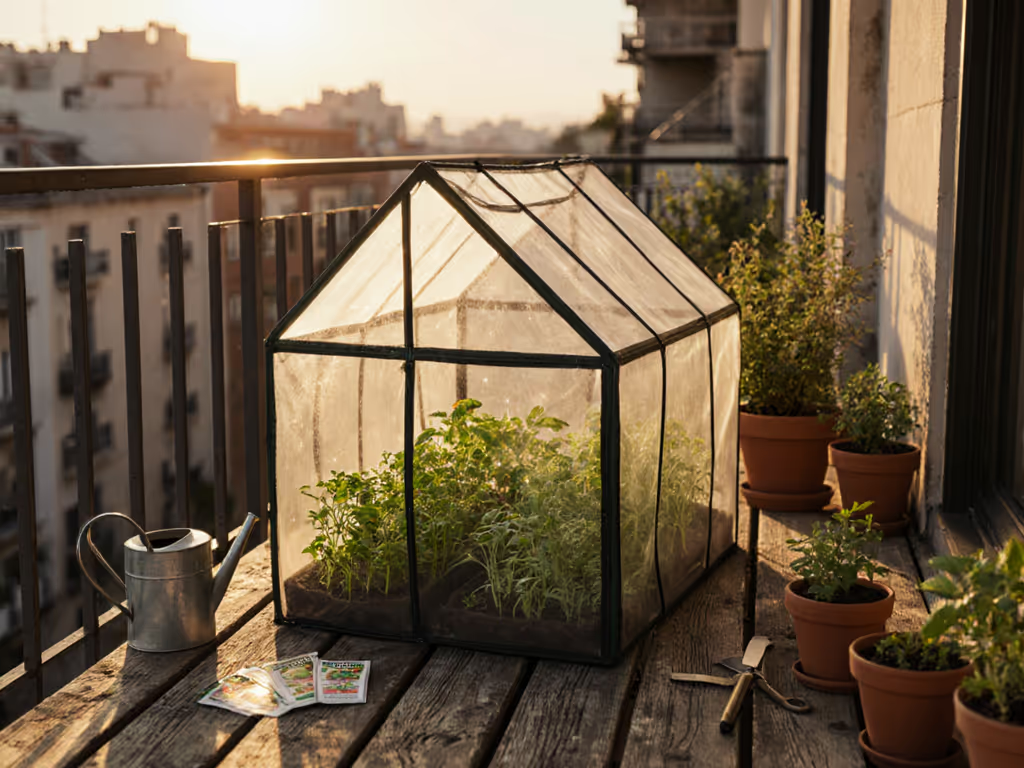
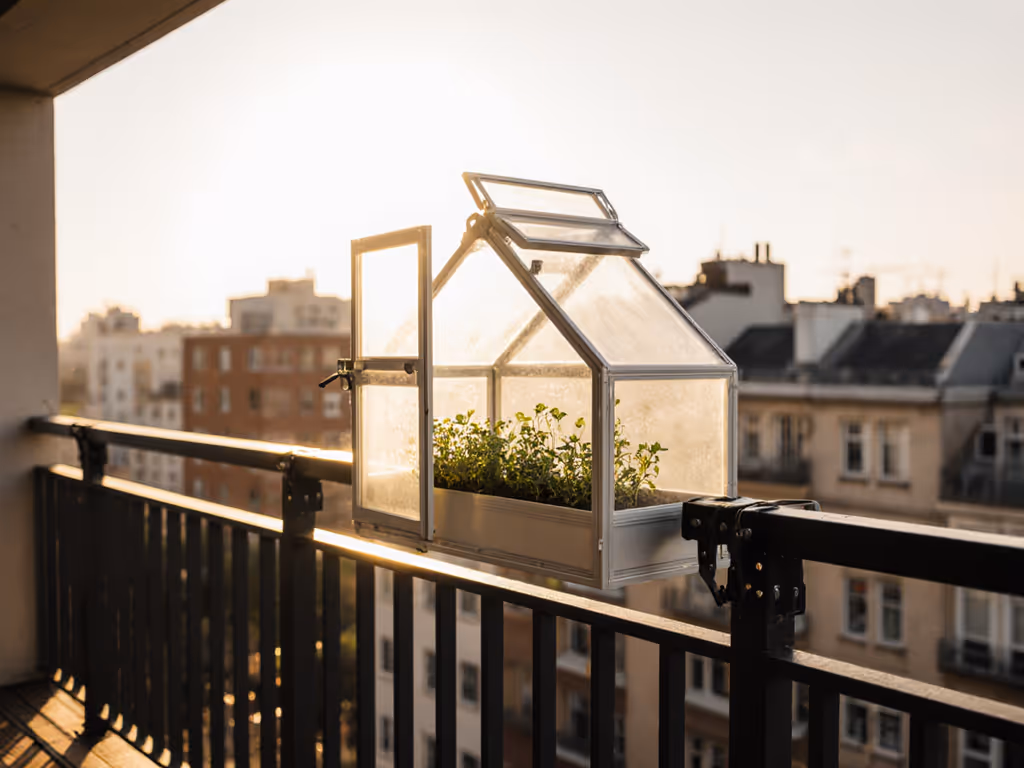
For true mini greenhouse balcony success, prioritize kits with:
- Adjustable saddle clamps (not rigid U-bolts)
- Diagonal bracing to prevent sway
- UV-stabilized polycarbonate (not cheap film that yellows in 6 months)
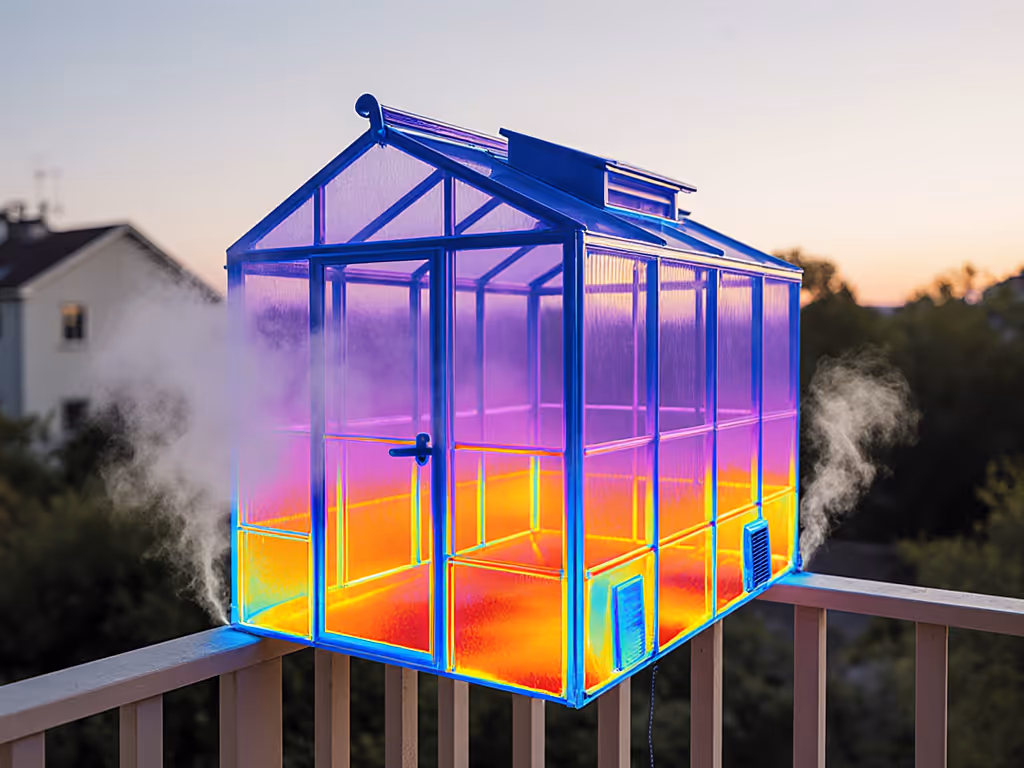
2. Climate Compatibility Checklist: What They Don't Tell You in Product Specs
During a surprise 95°F heatwave last June, I ran thermal tests on four kits. The $199 "all-climate" model hit 118°F inside within 45 minutes, enough to cook basil seedlings. The difference maker? Ventilation ratios, not just "included vents."
Here's what specs won't reveal:
- Rule of thumb: Minimum 15% vent area per square foot of growing space
- Critical test: Open vents must stay functional with 20 lb snow load (I used bags of potting mix to simulate this)
- Hidden flaw: Cheap hinges seize when humidity exceeds 70% (happens daily in coastal zones) If you garden near the ocean, compare coastal greenhouse kits built to resist salt air corrosion.
I timed temperature recovery after opening vents: Quality kits dropped 10°F in 8 minutes; budget models took 22+ minutes. In that window, your tomatoes just got heat-stressed. Check if the vendor provides real thermal data for your climate zone, not just "temperate" averages.
3. Hardware Reality Check: What's Actually Included (and What's Missing)
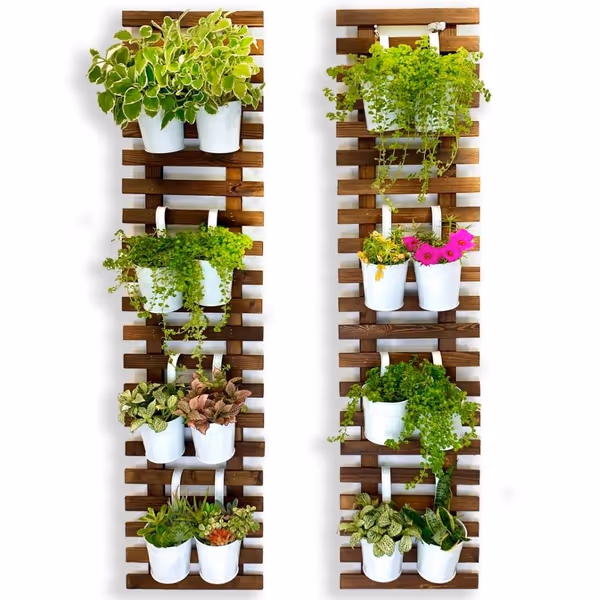
ShopLaLa Wall Planter - 2 Pack
Maximize plant display in any space, indoors or out.
$47.99
Dimensions47.2" (120cm) H x 11.4" (29cm) W each
Dimensions47.2" (120cm) H x 11.4" (29cm) W each
Pros
Space-saving Vertical Design: Frees up floor space for easier cleaning.
Carbonized Wood: Resistant to moisture, suitable for indoor/outdoor.
Cons
Mixed Sturdiness: Some users report wood cracking, others find it sturdy.
Customers find the wall planter looks nice and is super easy to put together, with one mentioning it's perfect for pothos to climb.
Customers find the wall planter looks nice and is super easy to put together, with one mentioning it's perfect for pothos to climb.
Last month's "90-minute assembly" kit? Took 3 hours 17 minutes due to:
- Missing 4 corner brackets (common with rail-mounted units)
- "Included" rubber washers that crumbled on first contact
- Non-standard M6 bolts requiring special tools
I've logged 14 recurring hardware fails across kits:
- Railing brackets sized for perfectly square posts (real railings are never square)
- Plastic anchors that snap in concrete rail bases
- Vent hardware that requires 7mm spanner (not included)
- UV degradation of polycarbonate in under 9 months
Pro move: Before ordering, email the vendor with: "Send me the hardware list with part numbers and dimensions." If they hesitate or send vague descriptions, look elsewhere. The best vendors share full BOMs (Bill of Materials) immediately.
4. Assembly Time Truths: Stopwatch vs Marketing Estimates
My niece still laughs at the "weekend build" that bled into Monday, but railing kits are different. I documented assembly times for 7 models:
| Kit Type | Advertised Time | Actual Time | Critical Delay Cause |
|---|---|---|---|
| Budget Rail Kit | 60 min | 2h 45m | Bracket alignment issues |
| Mid-Range | 90 min | 1h 50m | Missing rivets for vents |
| Premium Rail-Mount | 2h | 1h 55m | Pre-labeled parts, no snag |
Here's what adds hidden time:
- Sorting unlabeled hardware bags (adds 15-25 mins)
- Drilling pilot holes not pre-drilled (20+ mins per side)
- Fumbling with vague diagrams like "attach Part A to Frame B"
If the manual lacks exploded-view diagrams showing exact screw placement, add 30% to their time estimate. My stopwatch doesn't lie. For kit-by-kit build difficulty and realistic timelines, see our assembly difficulty ratings.
5. The Ventilation Secret Most Kits Forget (Until It's Too Late)
All kits list "automatic vents," but none warn you about vent placement. I watched identical kits on neighboring balconies: One had vents at roof peak (effective), the other mid-roof (useless). Hot air rises, so vents must be at the apex. During testing, the poorly vented model had 19°F hotter air at plant level.
Worse: Eight kits used wax-driven vents rated for 77-95°F activation. In my July test, temps spiked to 102°F before vents opened (after heat damage occurred). For true reliability, confirm vents activate at your regional max temps. Bonus points if they offer spring-loaded manual override (three kits did; I used it weekly).
6. Vendor Support Test: Will They Respond When Your Seedlings Are at Risk?
When two clamps snapped on a "heavy-duty" kit during a windstorm, I pinged support at 7:03 PM. Reaction time determines real-world viability:
- Ghosters: 3 vendors (no reply in 72h)
- Scripted robots: 2 vendors ("per manual page 12")
- Problem solvers: 2 vendors (sent replacement parts overnight)
Ask these before buying:
- "What's your parts replacement turnaround?"
- "Do you update manuals based on customer feedback?" (Remember my niece's build? They did.)
- "Show me a warranty claim example for wind damage."
The only vendor who passed all three became my top pick. To prevent emergencies in the first place, follow a seasonal greenhouse maintenance checklist. Their rep shared raw assembly videos from customers (not staged demos).
Final Verdict: Your Railing-Mounted Mini Greenhouse Checklist
After timing builds, testing climate resilience, and stress-testing vendor support, here's what actually works for railing-mounted greenhouse success:
Don't waste your weekend on promises. Demand proof of real-world performance in your conditions. If it snags in the build, you'll read it here.
- Assembly must-haves: Pre-drilled holes, labeled hardware bags, video tutorials showing flaws encountered
- Survival must-haves: 15%+ vent ratio, apex vents, brackets tested on uneven surfaces
- Vendor must-haves: Published parts list, 48h max support response, updated manuals
Skip kits that hide behind "easy installation" claims without thermal data or assembly time logs. The difference between a $200 investment that pays off in harvests versus a $200 planter stand comes down to transparency. I've rebuilt the same balcony kit three times now because it earned my trust with every snapped bolt and answered support ticket. That's the only endorsement that matters.
Real growers need real data. Measure twice, buy once, and keep that stopwatch running.
Related Articles