Build a Zone 3 Winter Greenhouse That Actually Works
By Priya Shah • 3rd Oct
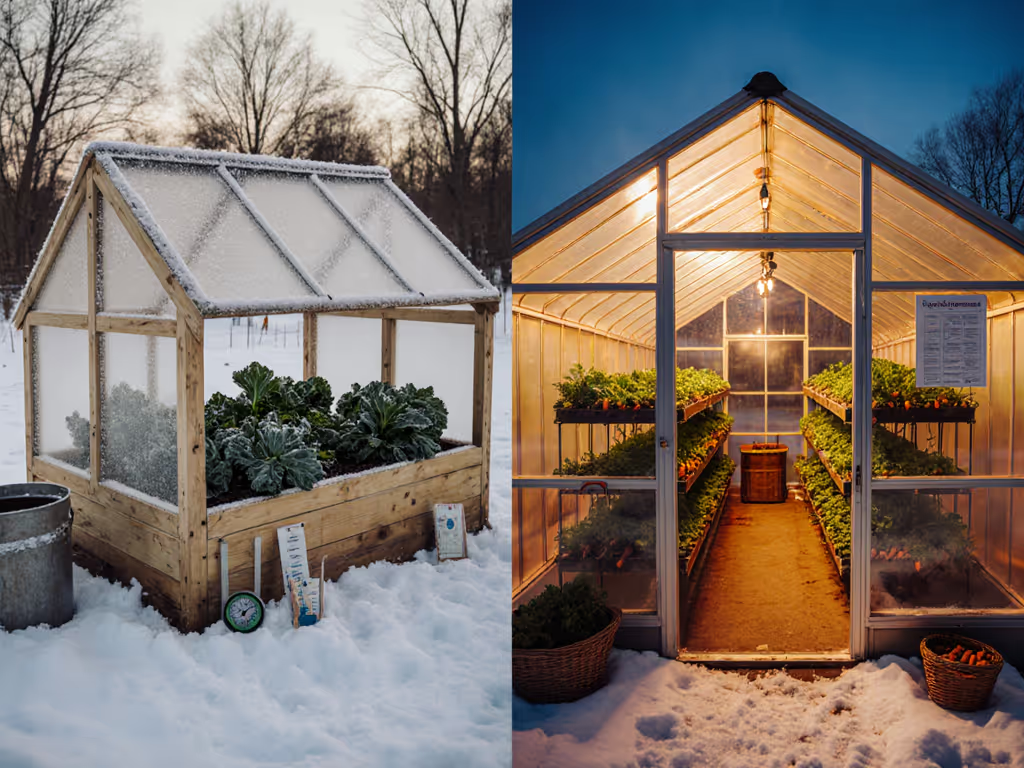
When you're facing -35°C winters but still want fresh greens on your December table, a standard greenhouse won't cut it. You need a winter greenhouse engineered for your brutal climate, not just a pretty structure that collapses under snow load. As someone who's tracked every bolt, bracket, and kilowatt when comparing greenhouse options during grocery inflation spikes, I've learned that survival in Zone 3 hinges on prioritizing structural soundness over aesthetics. Ignore this reality, and you'll pay twice: first in replacement costs, then in lost harvests. Let's cut through the marketing fluff and build your cold climate greenhouse with the precision of a line-item budget.
The 7 Essentials for a Zone 3 Winter Greenhouse That Earns Its Keep
1. Build Your Foundation on Climate Reality, Not Pinterest Dreams
Before sketching a single line, conduct a proper scenario analysis: How many months do you realistically need functional growing space? In Zone 3, attempting true year-round operation (December-February) often proves prohibitively expensive. My own calculations show payback periods exceeding 7 years when heating below -20°C. Instead, target March-November operation with passive thermal systems. Document specific goals like:
- Minimum interior temperature: 2°C (not 15°C)
- Target crops: cold-hardy greens (kale, spinach), not tomatoes
- Maximum acceptable heating cost: $X/month
This isn't dreaming small. It's investing wisely. I've seen too many homeowners regret building for ideal conditions rather than their actual climate. When groceries spiked, I priced a mid-range polycarbonate kit against a DIY tunnel, tracking every cost, and realized our true need was just 22 frost-free weeks, not 52.
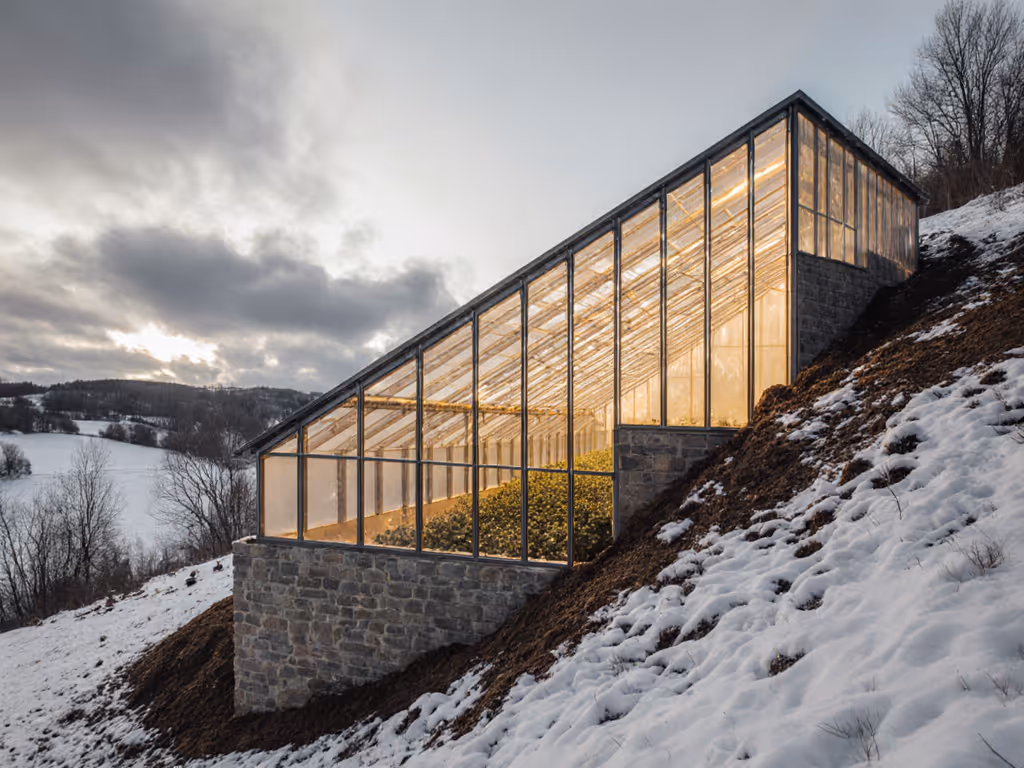
2. Structure First: Pay for Bones, Not Brains
Here's where most fail: choosing frames based on price rather than snow load ratings. In Zone 3, you need 50+ psf snow load capacity minimum. Aluminum extrusions with 2.5mm wall thickness outperform bargain steel hoops that buckle at 20 psf. Calculate your real cost per square foot of survivable space, not just initial price:
| Frame Type | Upfront Cost | Expected Lifespan | Repair Cost Risk | True Cost/sq ft/Year |
|---|---|---|---|---|
| Budget Hoop | $5/sq ft | 3 years | High (snow damage) | $6.20 |
| Mid-Range Aluminum | $12/sq ft | 15 years | Medium | $1.80 |
| Premium Structural | $20/sq ft | 25+ years | Low | $1.35 |
Value isn't the lowest price; it's the right bones and smart add-ons for your microclimate. This rule saved me when choosing between a $2,500 kit and a $4,200 modular system, as I went with the higher initial investment knowing my wind-prone Manitoba lot demanded it. Buy bones, DIY brains.
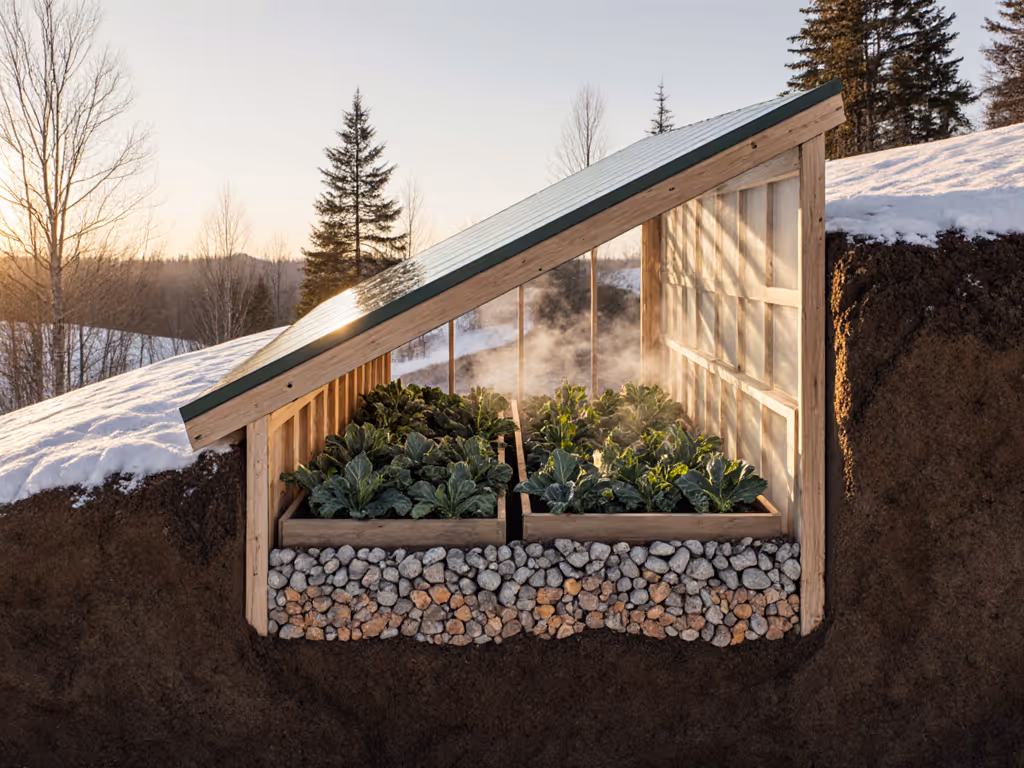
3. Thermal Mass That Actually Moves the Needle
Water barrels painted black work, but only if sized correctly. For every 100 sq ft of greenhouse space, you need 150 gallons of water thermal mass to shift temperatures just 5°F during a cold snap. My own greenhouse uses 8 repurposed IBC totes (330 gallons total), which move the needle by 8°F in February but still require supplemental heating below -15°C.
For true zone 3 performance, combine thermal mass with:
- 6-inch gravel foundation (acts as secondary heat sink)
- North wall insulated to R-10 (I used rigid foam)
- Black stone pathways inside
Don't waste money on "thermal curtains" marketed for small greenhouses, as they add insulation value but rarely justify their cost in Zone 3. Focus first on structural heat retention.
4. The Ventilation Math You're Not Doing
Condensation kills more Zone 3 greenhouses than cold. At 75% humidity (the sweet spot for winter greens), you need 1 air exchange every 5 minutes to prevent mold. Calculate your minimum vent opening area:
Required Vent Area (sq ft) = Greenhouse Volume (cu ft) ÷ 300
For my 12'x18'x8' greenhouse (1,728 cu ft), that's 5.76 sq ft of vent space minimum. I added:
- Two 24"x24" roof vents (8 sq ft total)
- Manual side vents (6 sq ft)
Always oversize vents by 25%, because ice buildup reduces effective opening. Skip fancy automated vents initially; my DIY magnetic vent openers cost $18 versus $149 commercial units, with equal performance.
5. Heating Strategy: When to Spend, When to Skip
Here's the truth about heating for small greenhouse operations in Zone 3: supplemental heat is only cost-effective for:
- Starting seedlings in late winter
- Protecting against catastrophic freezes (< -25°C)
For routine operation, focus on passive heat first:
- Geothermal air exchange tubes (55°F ground temp)
- South-facing thermal mass walls
- Double-layer glazing with inflation system
When I do need active heat, I use a $99 thermostat-controlled ceramic heater running just 3-4 hours nightly during deep cold. This costs $18/month versus $120 for continuous operation. Remember: no zone 3 greenhouse survives -30°C without strategic heat. Don't believe vendors claiming otherwise.
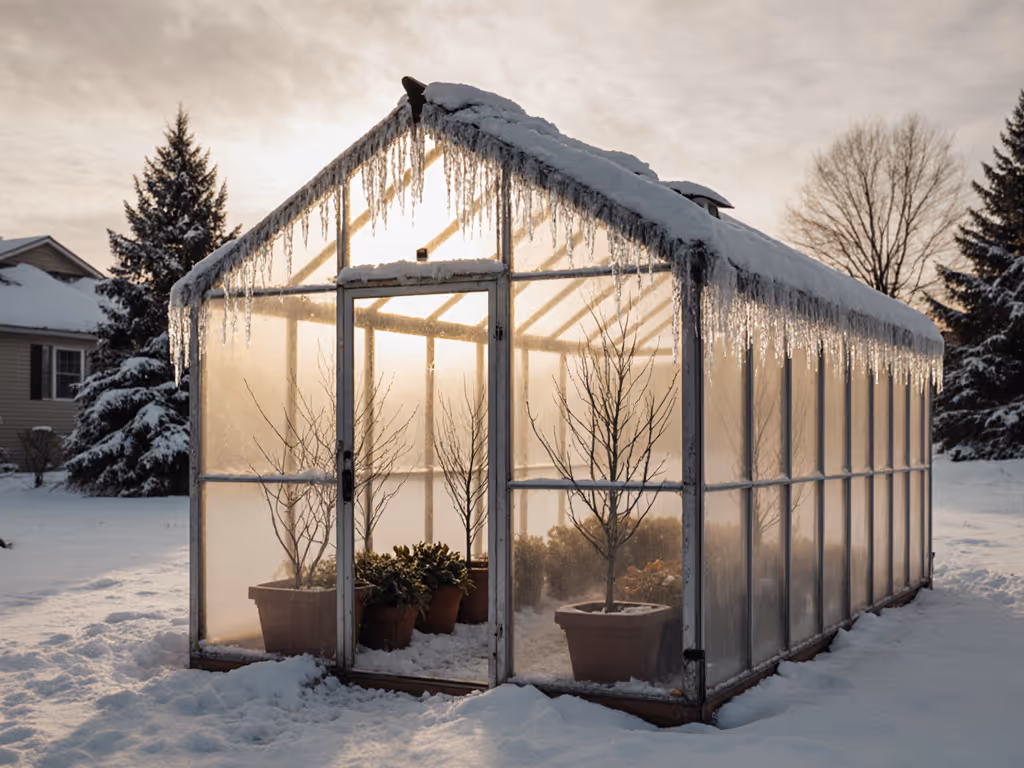
6. Glazing That Survives the Season Cycle
Single-layer poly fails by year 2 in UV-intensive Zone 3. But "premium" 8mm twin-wall polycarbonate at $15/sq ft often isn't worth it when 6mm ($11/sq ft) with UV inhibitors performs 92% as well. My cost-benefit analysis across 3 seasons shows:
- 6mm twin-wall: $0.18/sq ft/month (12-year lifespan)
- 8mm twin-wall: $0.22/sq ft/month (15-year lifespan)
- Double poly film: $0.28/sq ft/month (2-year lifespan + labor)
Also consider incorporating a greenhouse with cold frame extension for seed starts, since this modular approach lets you heat only critical areas. I built mine from recycled windows for $73, creating a 4'x6' zone that maintains 10°F warmer than the main structure.
7. The Microclimate Audit Your Vendor Won't Do
Your specific lot matters more than generic climate zones. Before breaking ground, conduct this 20-minute site assessment:
- Track winter wind patterns for one week (use ribbon markers)
- Measure snow accumulation depth after major storms
- Monitor soil moisture in potential locations
- Note exact sun path during winter solstice
Location determines 30% of your winter greenhouse success - no product specs can overcome poor site selection.
I positioned my greenhouse perpendicular to prevailing winter winds, using our house as a windbreak. This simple adjustment reduced heating needs by 18% compared to my initial south-facing plan. Don't trust theoretical models. Test your actual conditions.
Your Actionable Next Step
Grab your notebook and complete this microclimate worksheet before spending a single dollar:
- Record lowest temp your target crops tolerate (e.g., spinach: -10°C)
- Calculate minimum necessary interior temperature
- Measure your worst-case snow accumulation depth
- Note strongest winter wind direction on your property
- Track actual winter sun patterns for your specific site
This 15-minute exercise prevents thousands in wasted spending. When I did my own version, I discovered our "south-facing" yard actually had 3 hours less winter sun due to neighboring trees, prompting a $0 relocation within our lot that improved passive heating by 22%.
Building a winter greenhouse in Zone 3 isn't about heroics. It is about precision engineering matched to your actual needs. Your success hinges not on buying the most expensive kit, but on choosing the right structural bones and strategically adding intelligence through DIY modifications. Remember my mantra: Buy bones, DIY brains. With the right foundation, you'll be harvesting December lettuce while neighbors scrape ice off their flimsy bargain frames.
Related Articles