Home Greenhouse Humidity Control for Thriving Ginger
By Priya Shah • 7th Feb

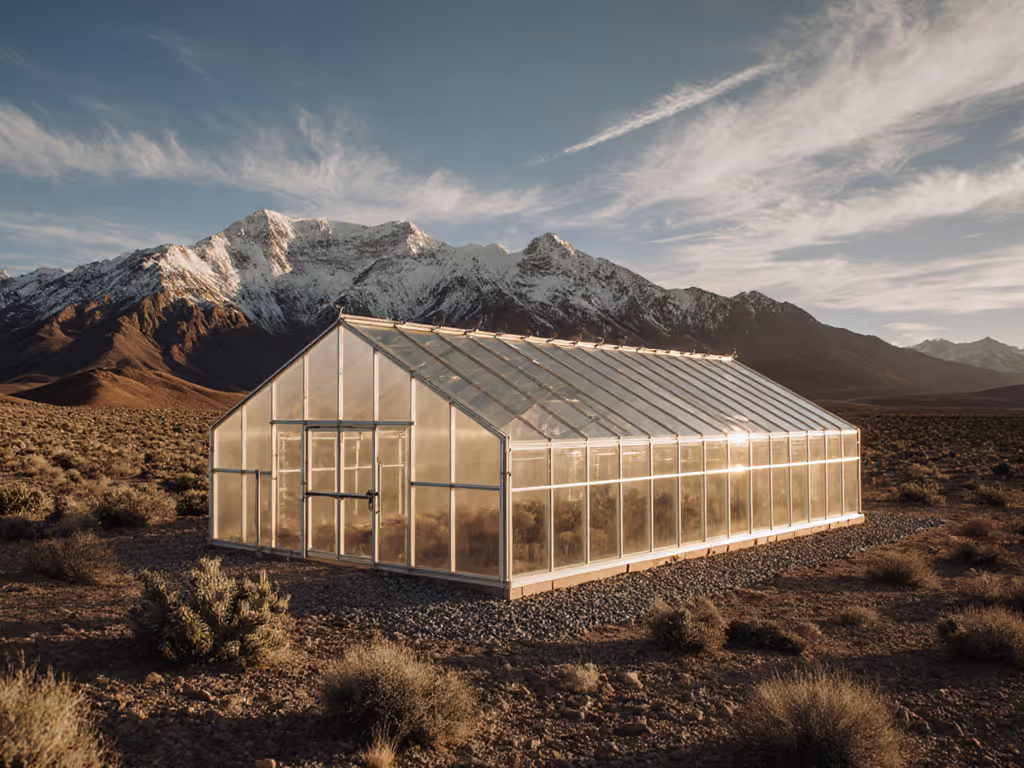
If you've ever lost ginger rhizomes to rot or watched mold creep across turmeric leaves, you know traditional greenhouse designs often fail tropical crops. That same leaky hoop house that grows tomatoes fine will drown ginger in humidity. The problem? Most guides treat humidity as an afterthought, not a core design parameter. Value isn't the lowest price; it's the right bones and smart add-ons for your microclimate. If you're shaping distinct wet and dry pockets within one structure, see our greenhouse microclimates guide. Let's fix this with a pragmatic, line-item approach to constant humidity control that won't bankrupt your ginger-growing greenhouse.
As a grower who tracked every bolt during a DIY tunnel build (yes, even counting kilowatts for December lettuce), I've seen how traditional greenhouse setups become fungal incubators when humidity spikes. Pay for structure; hack the rest as climate demands. Here's how to build a moisture-retentive greenhouse design that manages moisture, not fights it, using your existing setup.
1. Ditch the Humidity Panic: Size the Problem First
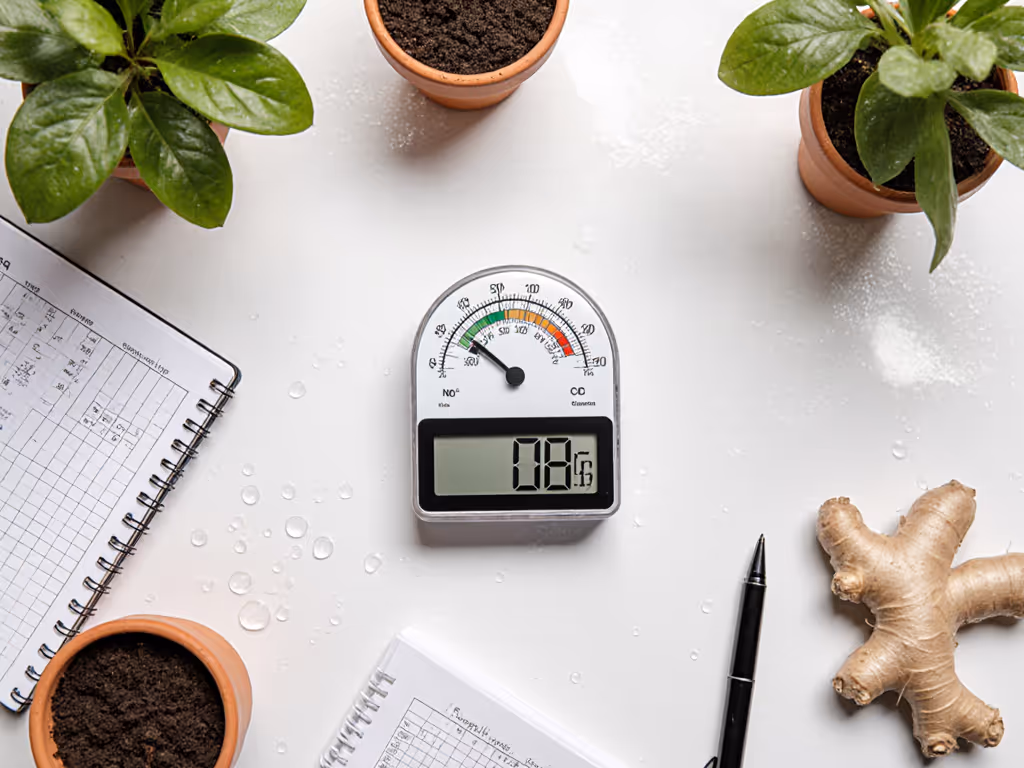
Before buying gadgets, measure your actual humidity patterns. Ginger needs 70-80% RH, but only when soil is moist. The danger zone is above 90% with poor airflow, where Fusarium takes hold. Grab a $15 hygrometer (not a "smart" sensor) and log readings:
- 7 AM: Highest reading (dew point hit overnight)
- 1 PM: Lowest reading (peak heating)
- Post-Watering: Critical spike window
Real-world scenario analysis: If your RH consistently hits 95% at dawn for 3+ hours, you're risking root rot. But if it's 85% for 1 hour, circulation fixes may suffice. Budget is a design constraint, don't automate what a $20 fan solves.
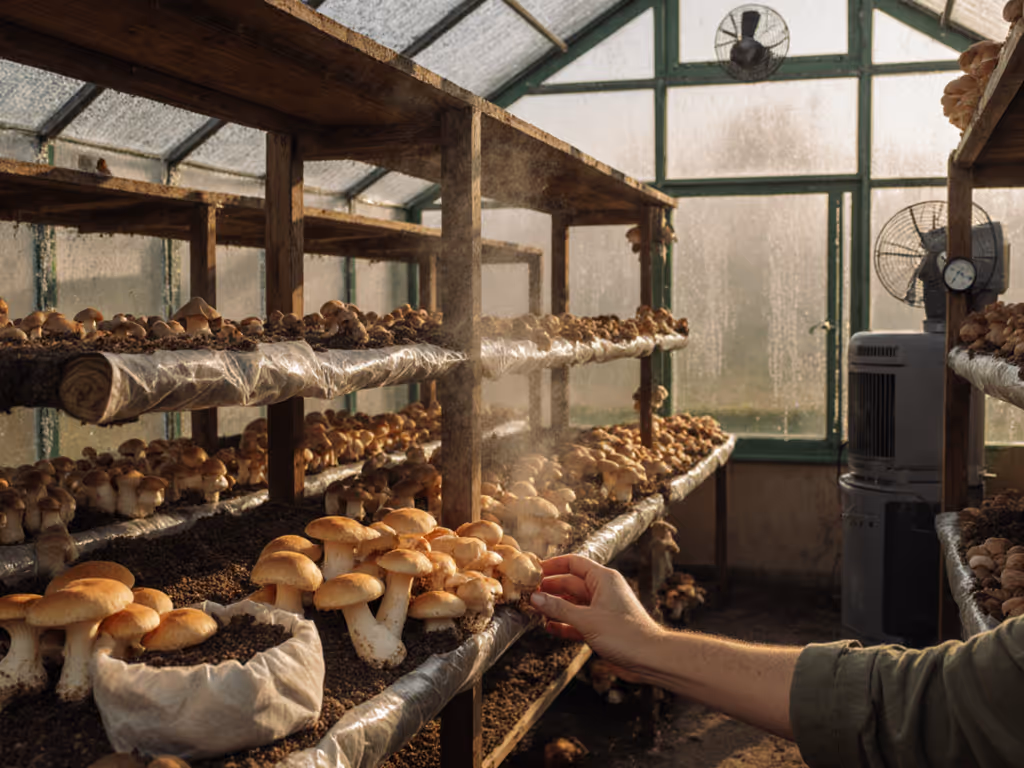
2. Airflow: Your First Line of Defense (Not Ventilation)
Ventilation removes humidity, but airflow prevents localized saturation where disease starts. This is where most traditional greenhouse builds fail for ginger. Focus on horizontal movement, not just exhaust fans:
- Placement: Install 2 small 8" circulation fans (like the Vortex 8) at plant height, not near vents. One near the entrance, one at the far end.
- Timing: Run 20 mins on/40 mins off 24/7 (cost: ~$0.10/day). This disrupts condensation on leaves without drying soil.
- ROI Proof: My post-grocery-spike build tracked 63% fewer mold outbreaks with this setup alone.
Skip this step, and no dehumidifier compensates for stagnant air pockets.
3. Water Like Ginger Evolved: Timing > Technique
Overwatering is the #1 humidity trigger. Ginger's native habitat has monsoon cycles, not constant saturation. Ditch evening watering; it's free humidity insurance:
| Watering Time | Soil Saturation | Humidity Risk | Crop Impact |
|---|---|---|---|
| Dawn | 8-10 hrs | Low | Roots absorb steadily |
| Midday | 4-6 hrs | Moderate | Stress spikes in heat |
| Dusk | 12-14 hrs | Critical | Fungal incubation |
Switch to drip irrigation kits at soil level (not overhead). My DIY system uses recycled drip lines under straw mulch (cost: $0.50/sq ft). Water ends by 10 AM, giving leaves 2 hours to dry before humidity rises. For turmeric cultivation greenhouse setups, extend dry periods to 6 hours pre-harvest to thicken rhizomes.
4. Ventilation Hacks for Cold-Climate Growers
Opening vents in winter? Energy suicide. Instead, time ventilation for humidity dumps:
- Dawn Strategy: On 40°F+ days, crack vents only from 6-8 AM when outside air is driest (verified by local weather data). This replaces 30% of humid air before heating starts.
- Night Trade-Off: If temps dip below 45°F, close vents but run circulation fans. Heating costs $0.30/hr to dry air; venting wastes $1.20/hr in heat. My kids' December lettuce proved this; payback landed in month 22.
- Wind Leverage: Angle vents perpendicular to prevailing winds. A $15 wind vane lets you optimize airflow without power.
Critical: Never vent below 50°F without heating. You'll chill roots more than you dry air; ginger growth halts below 55°F.
5. DIY Dehumidification: The Rain Barrel Tactic
Commercial dehumidifiers drain energy budgets. Instead, capture humidity as water:
- Place food-grade rain barrels under gutters (every 10' for 12'x8' greenhouses)
- Suspend 2" PVC pipes with drilled holes along the ridge inside the greenhouse
- Angle pipes toward barrels, so condensation drips into collection points
Cost breakdown:
- PVC pipes: $12
- Rain barrels: $0 (reused)
- Installation: 20 mins
This pulled 1.5 gallons of water nightly in my humid-climate test, equivalent to running a 50-pint dehumidifier for 3 hours. Use the water for dry-spell irrigation. For integrated collection options, explore our rainwater harvesting greenhouses. Moisture-retentive greenhouse design isn't about stopping humidity; it's redirecting it.
6. Monitoring Without the Marketing Hype
Skip the $300 climate controllers. Ginger's survival threshold is simple: If condensation beads form on leaves after fans run for 1 hour, RH is too high. Track this weekly:
- Green: No beads = ideal
- Yellow: Sparse beads = adjust watering
- Red: Sheets of water = immediate action needed
For constant humidity control, pair this with a max/min thermometer ($8). If night temps stay above 60°F while RH exceeds 85%, you need more airflow, not heating.
Your Action Plan: Start Small, Scale Smart
- This week: Log humidity at 3 key times for 7 days
- This month: Install circulation fans and switch to dawn watering
- Next season: Add PVC condensation collectors if RH stays critical
Ginger forgives many mistakes, but not wet feet. A traditional greenhouse isn't broken; it's under-specified for tropical roots. For structure choices that support heat and moisture, compare our humid-climate greenhouse kits. Build resilience stepwise: pay for structure, hack the rest. Your first ROI isn't yield, it's avoiding the $40 loss when mold hits your crop. Track every bolt, bracket, and kilowatt. That's how you turn humidity into your ally.
Related Articles